Model kits are very fragile. No matter what scale they are in, they are still made of plastic parts. When the different components move (in action poses), the pressure sustained by the joints and the parts they are linked with is most likely something we take for granted almost all the time. That's one thing. Also, to meet the design of the MSs they represent, many parts are intrinsically fragile and need to be handled carefully as well. Zaku II's blade antenna and Gundam's V Fin come to mind here.
Generally, if they are treated well, they can last a very long time. The first ever Gunpla I built - 1/144 Gundam Epyon is still in very good condition, even though it's already a 14-year-old assembled kit. Several others that came after him, like those 1/144 scale kits from "Gundam Wing G-Unit" are still fine too, except for loose polycaps and foil stickers that start to peel off at certain corners, but none of them have parts that are broken.
It irks me when I see people treat their model kits like they are Transformers action figures, twisting and turning as if the parts would never break. When something do break, they always push the blame onto the manufacturer for not making the parts sturdier in the first place.

While it's true that the manufacturer put in a lot of effort in using different materials for the various parts to increase the durability of the kits, but as long as people are not careful, model kits will continue to break, even if die-cast materials are added. ^^; As model kit designers keep on pushing the limit of Gunpla design, people will keep on pushing the limit of how flexible and durable Gunplas are when playing with them as well. It has slip many people's consideration that how awesome a model kit can move doesn't automatically equate to its durability. Sure, HG 1/144 00 Gundam can have tons of action poses, but if they are not adjusted properly, the parts can still break.
After the fix on MG Zaku II's hip last year, this is a posting on fixing broken parts of some other model kits that I have, where the problems weren't because of adjustment for action poses, but parts that were broken during cleaning them instead.
Still more than half a year to go till Chinese New Year but spring cleaning already?^^ Not really. ^^ The incidents were from the last New Year, when I still had model kits on display on my bookshelves. Most kits turned out fine, but some weren't so lucky unfortunately. ^^; While working through the slits and corners with tissue papers and cotton swaps, some parts just ended up broken. ^^;

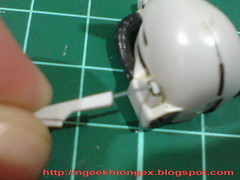
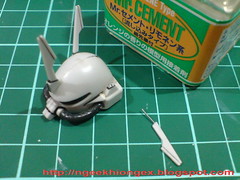
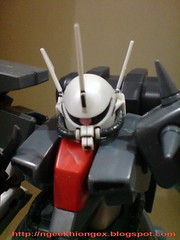
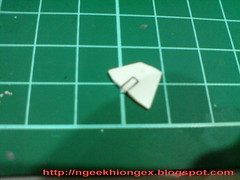
One of HGUC Zaku III's blade antennas that was broken.
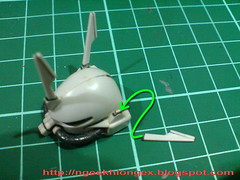
While the outcome is supposedly simple - just get the blade antenna to stick onto its base again, just using cement is not enough because the glued portion would be too weak to support the entire antenna.
A support in the middle of the antenna is needed here.
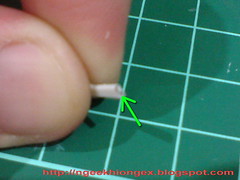
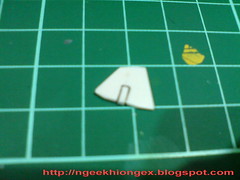
(Left) Excessive part from the bottom of the antenna is cut off to create a smooth surface for the cement later on.
(Right) Using pin vise, a hole is made in the middle of the antenna.
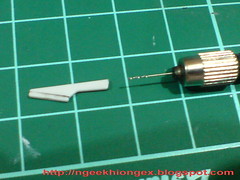
Testing the hole with the great support item I'm talking about earlier on - a staple pin. ^^
The longer middle portion of the pin will be used for this work.

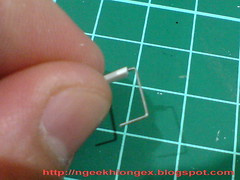
Using the staple pin on the antenna, the position on the helmet where the antenna is supposed to stick on is marked and drilled using pin vise.
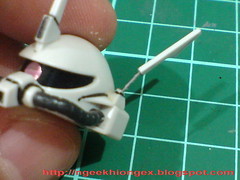
Sliding the pin into the base for testing first.
Since the staple can be bent easily, the antenna's position can be adjusted to match that on the right side of the head very easily.
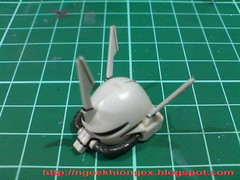
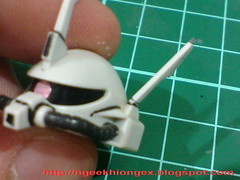
Happy with the test result, the antenna is permanently fixed onto the head with cement.
Testing out the strength of the repair when the cement has dried.
The antenna remains well shaped when it's used to support the head upside down (right), so I suppose it's good enough. ^^
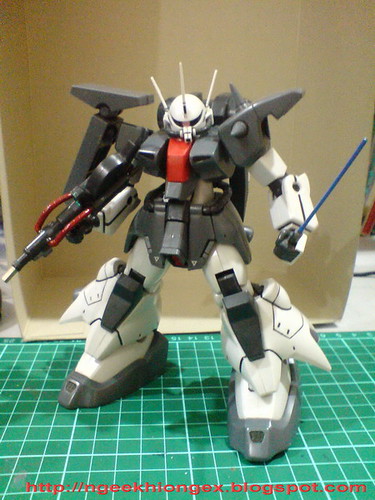
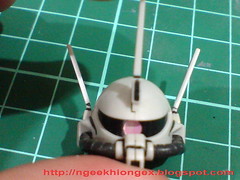
HGUC Zaku III revived ^^

Not obvious at all that there's a bit of metal part on my Zaku III XD

With HGUC Mashymre Cello's Customized Zaku III
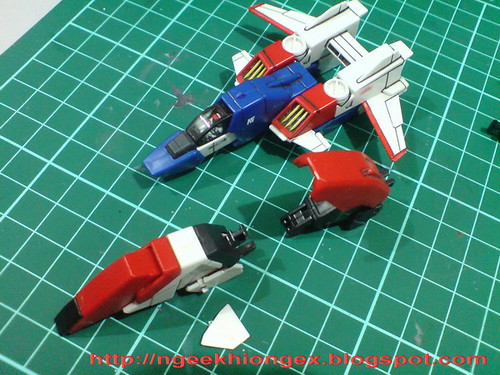
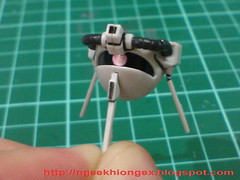
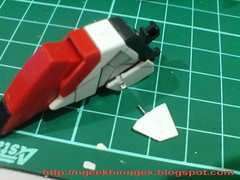
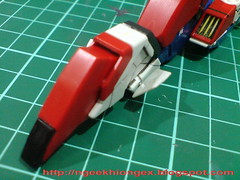
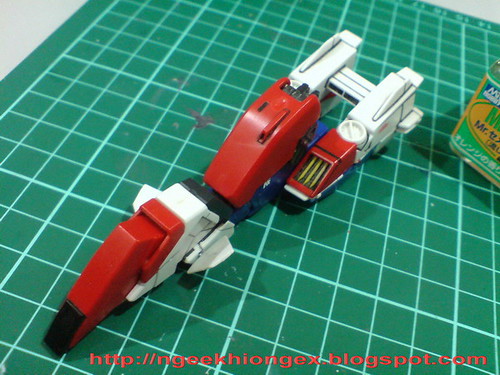
Another model kit with similar problem to be covered in this posting - the Core Block components of MG S Gundam ...
... where one of the little wings on the hip is broken.

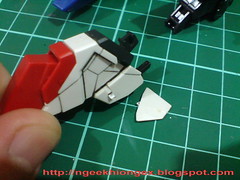
Stuck deep inside the hip is the base of the wing, or rather the actual joint of it. Since I glued the parts when I first assembled them, there's no way of getting it out for a complete repair unless I'm willing to crack the whole thing open to get that tiny part. ^^;
I'm not feeling that adventurous right now XD
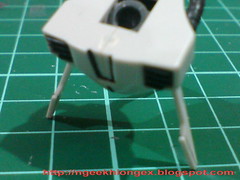
Similar problem calls for similar solution then I suppose ^^
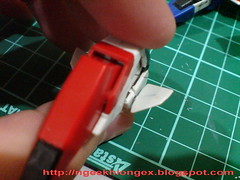
The base of the wing is cleaned off first.

It's pin vise, staple pin and glue to the rescue again. ^^


Now the wings can be opened and closed, like before.
Because the base of the joint is still stuck in the hip, how well the wing is able to move still depends on whether the joint is willing to "cooperate" ^^;
Not a complete solution for MG S Gundam's Core Block - just able to get the wing back onto the base again. Its ability to move is still depending on the joint, which is the real problem in my opinion. Since I'm taking it off display to store in a box after the work, the ability of the wing to move is no longer an issue for me (but I still want to fix it anyway). Much like the beam cannon of MG Destiny Gundam, the handle is supposedly able to move after the fix, but I'm unwilling to play with it again. ^^;
It's called phobia I suppose XD


No comments:
Post a Comment