Saving the greatest "fun" of the leg parts till this posting. ^^
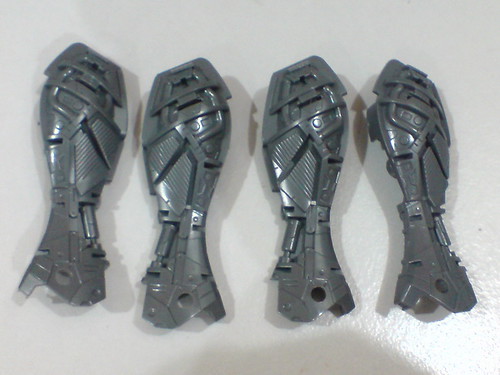
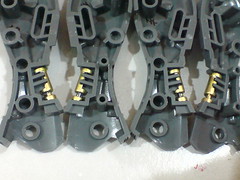
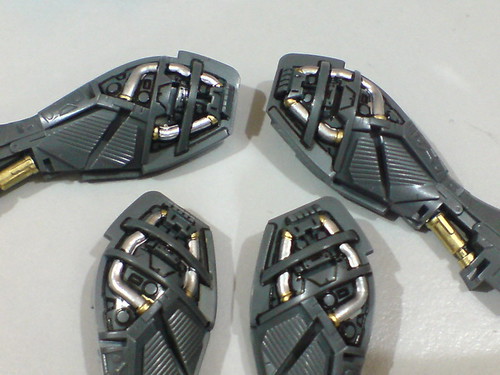
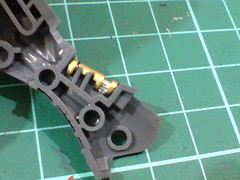
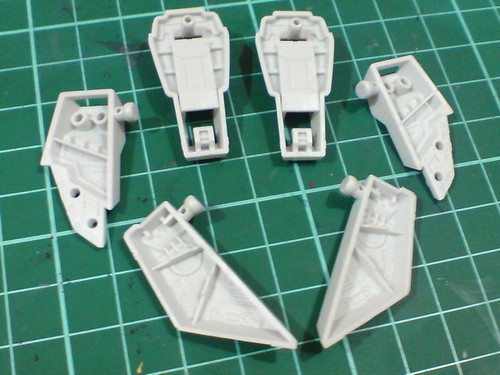
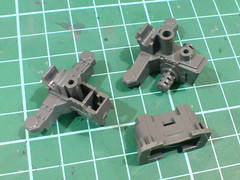
The main inner frame parts for the legs.
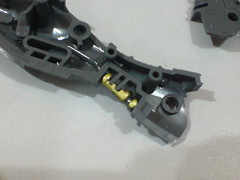
Painted the fixed hydraulic pipes in gold first using a combination of Gundam Marker and normal pen. The latter is used first to fill in some areas that are too tight for Gundam Marker to go in, followed by the marker for the rest of the parts.
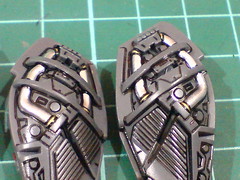
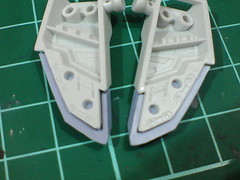
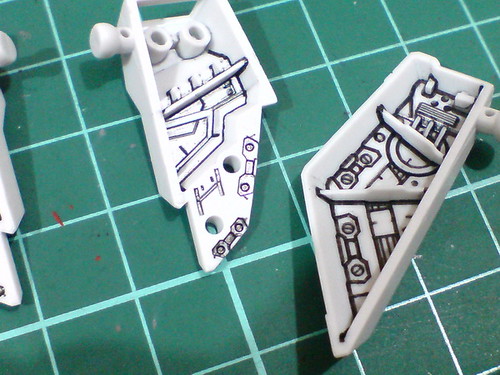
(Left) The valleys between the pipes and the leg are painted in black using panel liner,
(Right) The same area is not painted on the rear face since it's not going to be seen anyway when the parts are assembled.
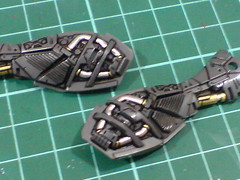
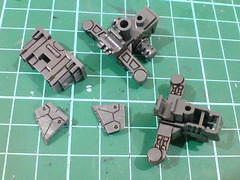
Gold for the entire pipe first - the silver portion will be dealt with later. ^^
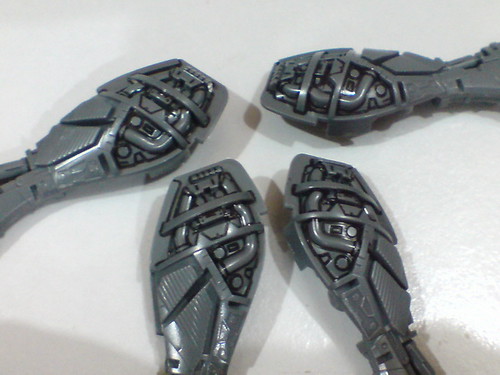
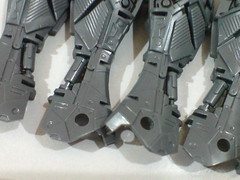
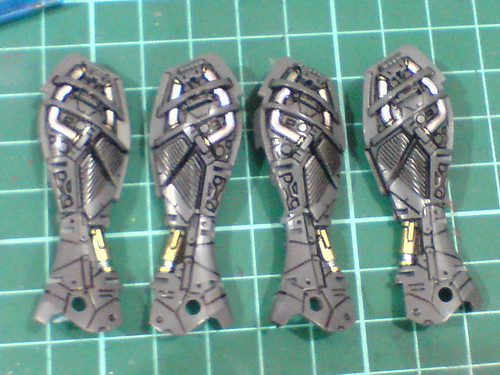
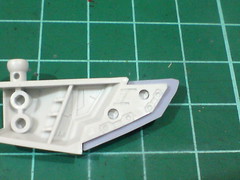
Panel lined the details on the side of the leg parts, where majority of the details are at first.
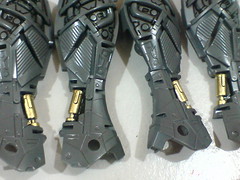
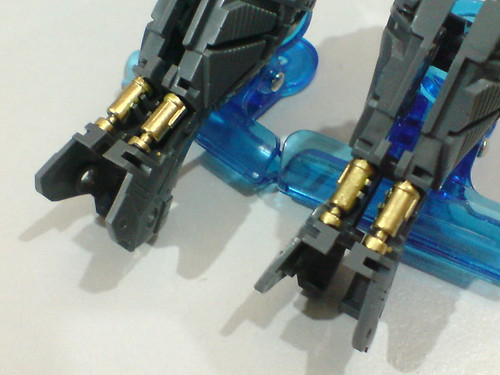
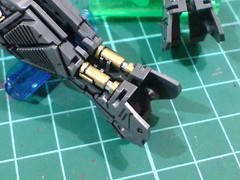
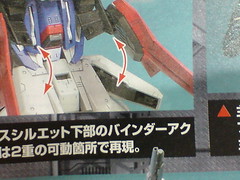
The tube design is another close connection to MG Destiny Gundam, after the hip joints and knee armors mentioned in the previous posting.
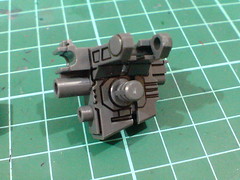
Painted the tubes using normal marker gold for the "root" first, then Pilot marker silver for the pipes.
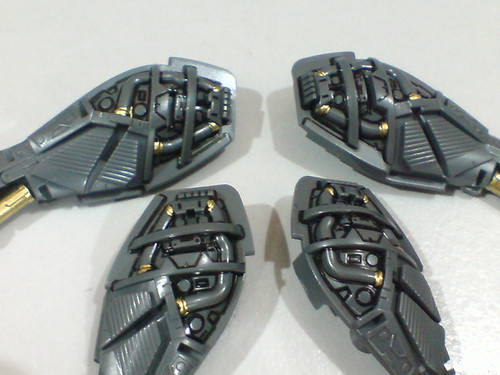
With all the details panel lined.
The silver portion of the legs' hydraulic pipes is too small to be reached and painted by any marker. The foil sticker trick from MG Crossbone Gundam Full Cloth proved to be a great help to the issue here. ^^
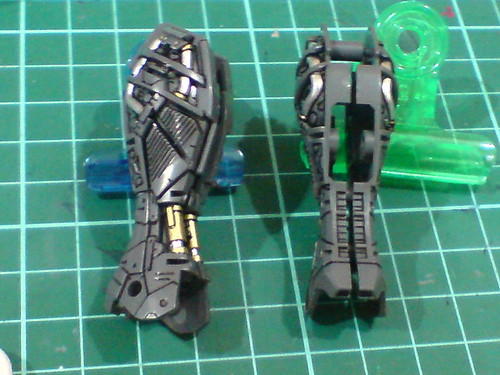
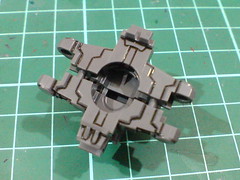
All done for the leg parts. ^^

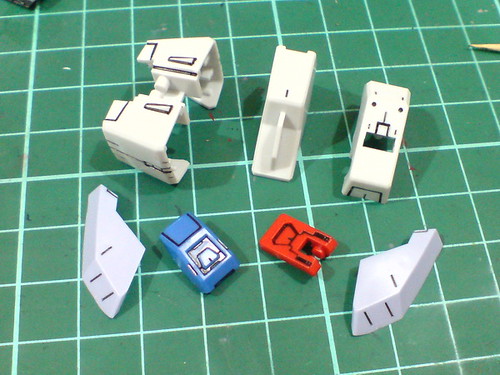
Tons of "troublesome" parts for the waist and side skirt armors XD
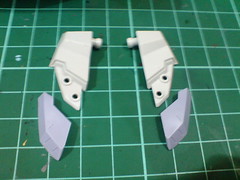
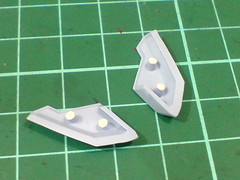
The exposed bit of the pins connecting the light blue parts to the white armors are painted white using Gundam Marker so that they would "blend in" when the parts are assembled. ^^
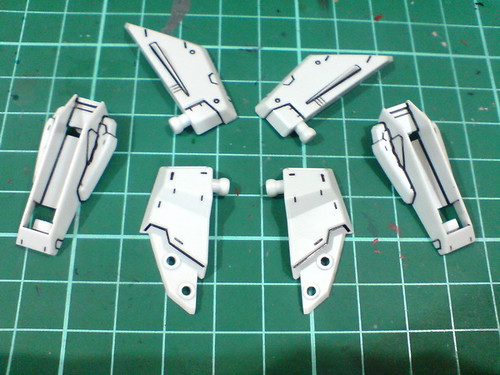
Another galore of mechanical details behind all the skirt armors. ^^

Very light result for the lines using the black paint with thinner method once used on MG Infinite Justice Gundam, which is not to my liking at all. ^^;

Reapplied panel lines to most of the details using panel liner to make them even more obvious, which is very much to my liking now. XD
Remnants of the paint-with-thinner panel lines can still be seen at close distance. ^^;
The rear face of the side skirt armors is supposed to be in gray as shown in the manual, but I didn't bother painting it to let the line details on the parts much clearer to be seen. ^^
By the way, if that area is gray, then all the other skirt armors should be in gray as well I suppose. No thanks for all the paint work then ^^;

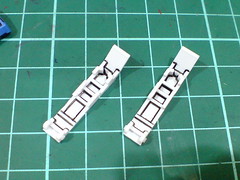
Simple panel lining on the external face of all the armor parts, as well as the hatches of the side skirt armors for the combat knives.
Simple panel lining for the waist's inner frame parts ...
... and other parts.


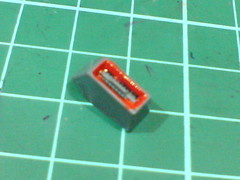

Even though the vent on the groin is shown to be in gray completely according to the manual, I painted the inner wall red using Gundam Marker - just like the same component on the calf (Part 8).
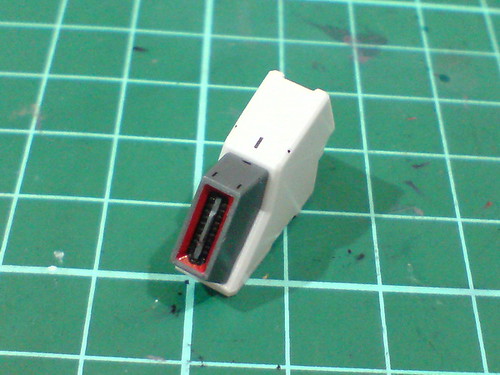
Apart from the connection with other similar components on this kit itself, the biggest reference of the paint work is actually to the BB Senshi version. ^^
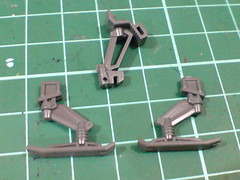

No special treatment needed for the landing gear parts of the waist and knees (luckily). ^^
Work on the entire lower half of the Gundam is done it seems, after this posting. ^^ There has been quite a lot of progress made for the entire work after the few postings so far, which is very good. Some time ago, it almost looked as it the work is going to drag on forever, but now the item list is getting shorter and shorter. ^^
Will set this aside for a while and work on another kit next. ^^


1 comment:
Bling Bling!!!
Post a Comment