Rolling out another Gunpla after 1/100 Gundam Virtue for this month. ^^ Since I already completed a 1/100 scale kit not too long ago, HG 1/144 Cherudim Gundam will get his shot to be assembled now, even though the panel line and paint work on it was done much later than 1/100 scale Zaku Warrior with Blaze Wizard and Gunner Wizard pack. It's sort-of jumping the queue here in terms of which kit to be featured next, but I don't think 1/100 Zaku Warrior will mind. ^^
On a separate note, regardless of whether it's this kit or 1/100 Zaku Warrior to be featured now, it's still another green MS after Robot Damashii [Side MS] Geara Zulu. XD
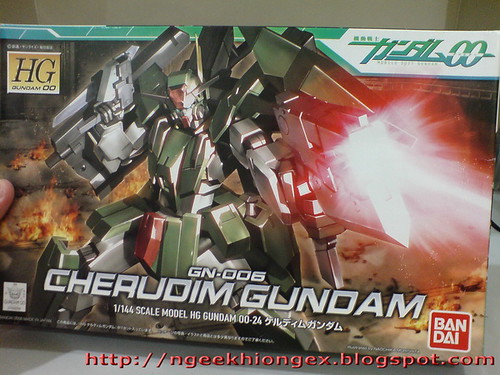
I forgot to take a picture of all the parts in their respective paper boxes before starting the assembly, so this box art shot from Part 1 will have to do XD
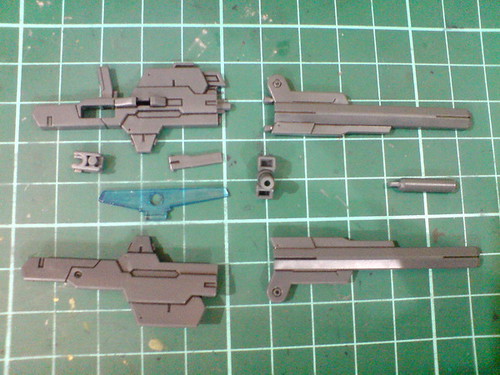
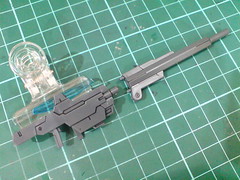
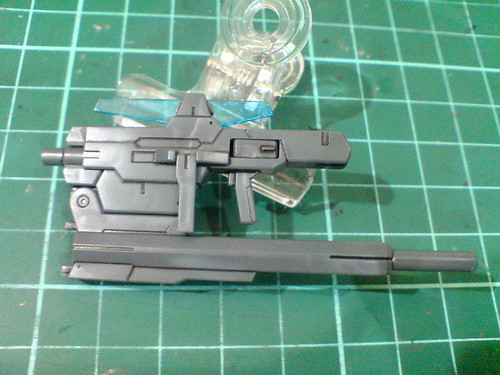
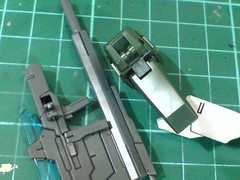
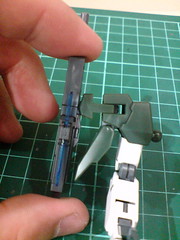
Parts of the beam rifle.
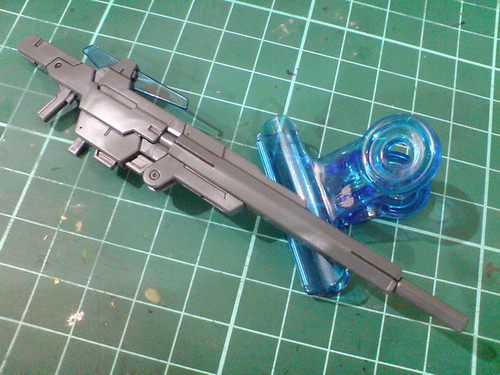
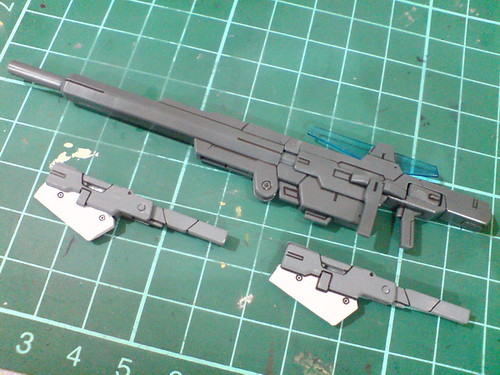
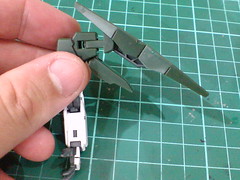
Beam rifle completed.
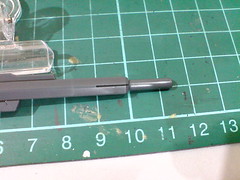
Total length is 11.5 cm.
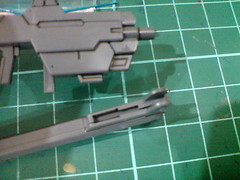
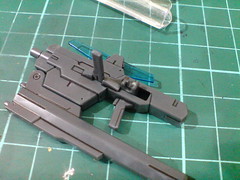
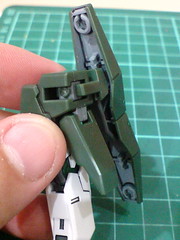
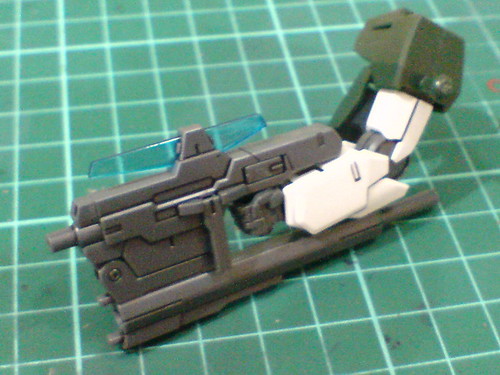
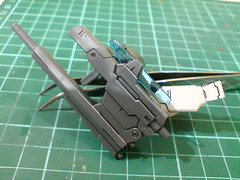
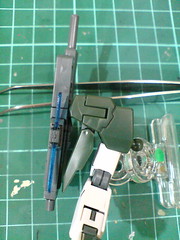
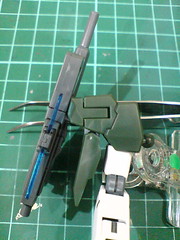
Unlike the more realistic design on the HCM-Pro version, the beam rifle of this HG kit uses a simple detach and slide on gimmick to show it in retracted mode.
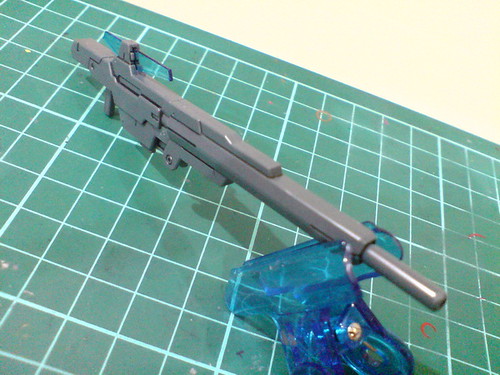
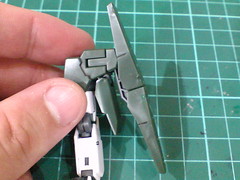
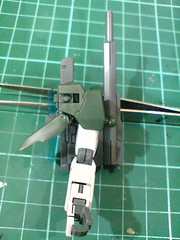
Beam rifle in retracted mode.
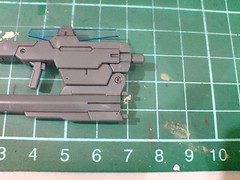
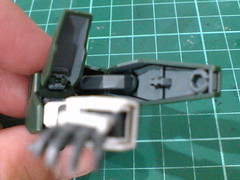
(Left) Some features are missing, some are included: while the retracted mode requires the rifle barrel to be detached as shown above, part swapping is not required for the support handle of this HG kit, unlike the cumbersome design on HCM-Pro version. ^^; The mount latch to attach the weapon to the right shoulder armor can be lifted.
(Right) Total length of the rifle in retracted mode is 7.5cm.
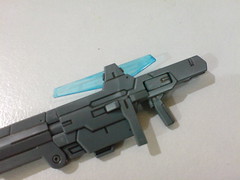
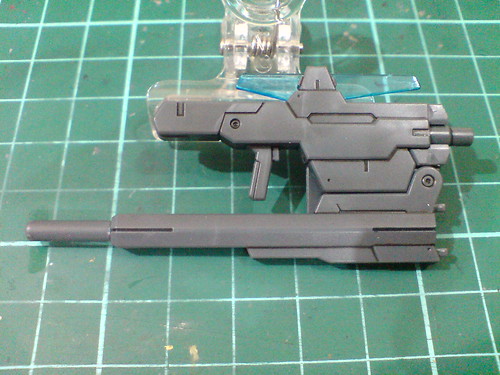
A look at the targeting scope painted in light blue back in Part 2.

Parts of GN Beam Pistol II.
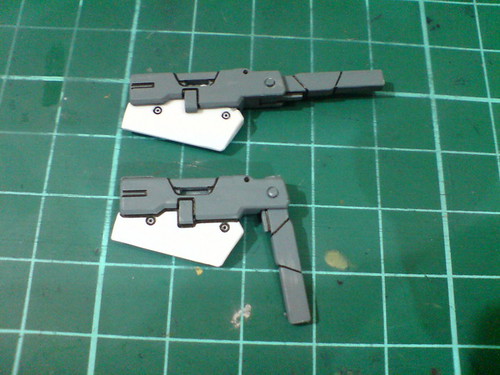
Almost effortless assembly for the two pistols, since each one is only made of three parts. ^^
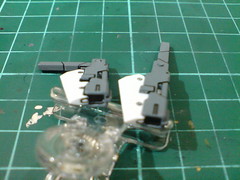
Done for both weapons.

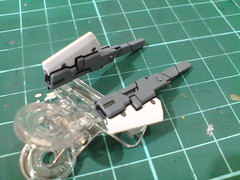
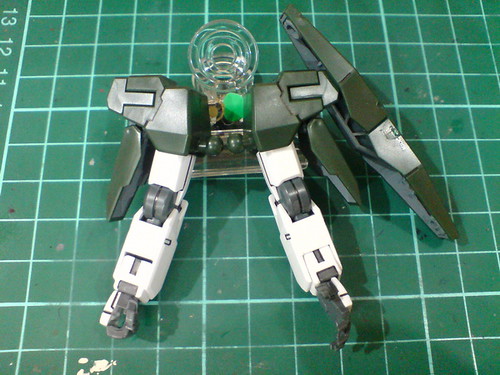
Parts of the shield bits' clear stand.
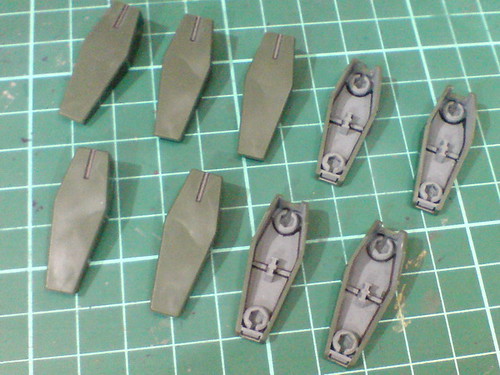
No assembly is needed for the nine GN Shield Bits, obviously. ^^
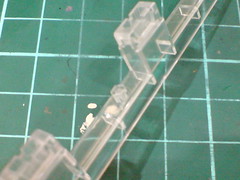
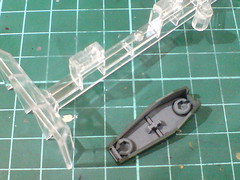
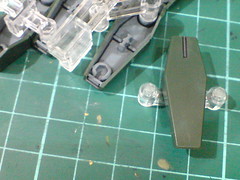
Unlike the HCM-Pro version's design, the shield bits of this HG kit uses a combination of hexagon-shaped pins and rectangular tabs to connect to the display stand or link between bits using the extension parts.
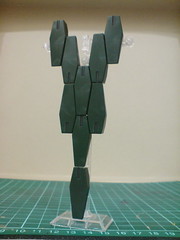
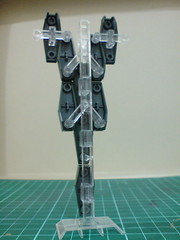
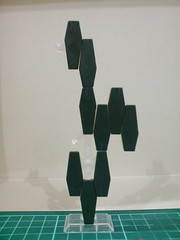
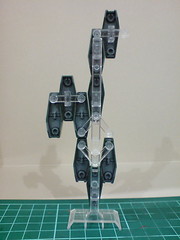
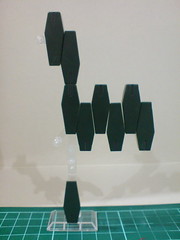
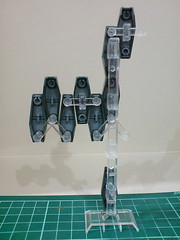
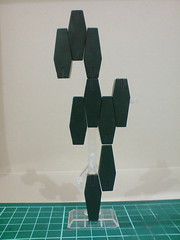
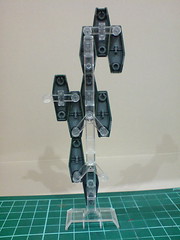
Plenty of possibilities for the bits' formation on the display stand, most definitely more than the HCM-Pro version.
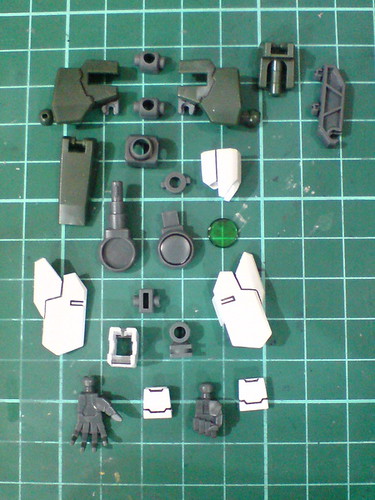
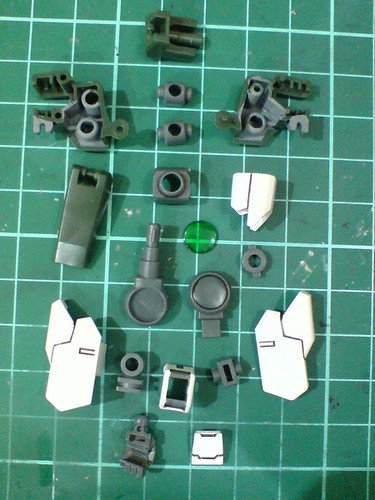
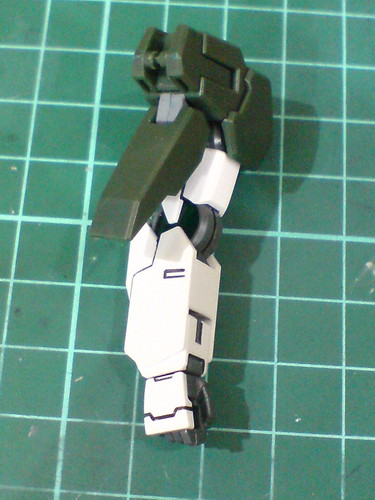
Parts of the left arm.

The default closed fist and option spread palm have different connector design for the armors to be attached, probably to avoid confusion between the parts during assembly.
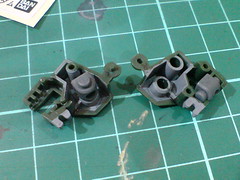
(Left) Two polycaps inside the shoulder armor: one for the upper arm while the other one is for the mount rack.
(Right) It's good to see that the gray used for the armors' interior matches the polycap part's color well. ^^
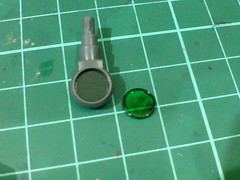
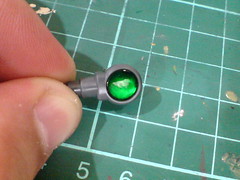
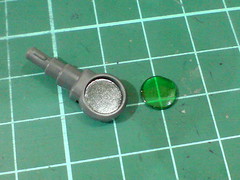
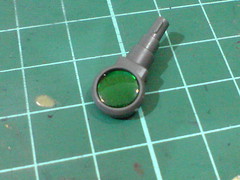
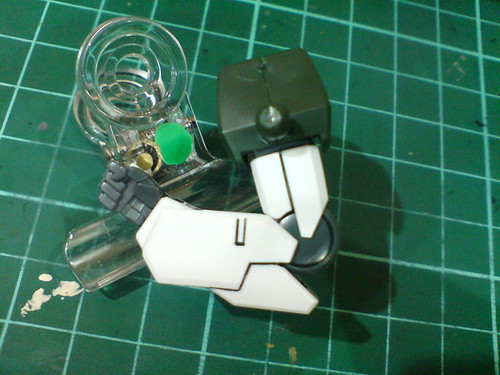
Foil sticker and painted clear part for the elbow's GN Condenser.

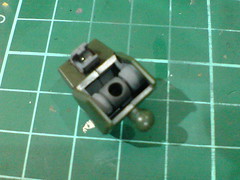
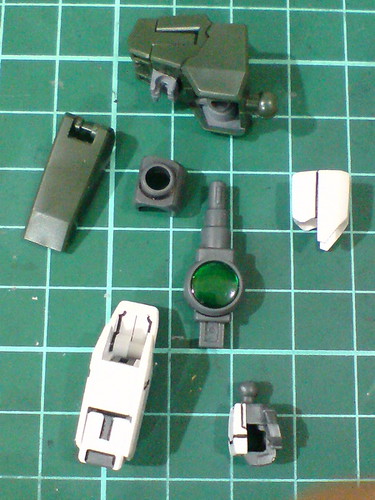
Separable components of the left arm before the final assembly.
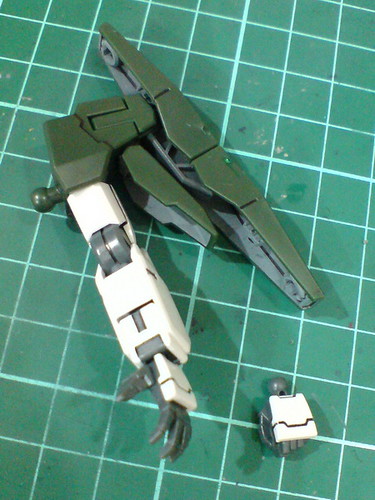
Left arm completed.
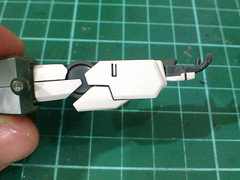

Pretty standard elbow articulation range I would say. The movable wrist component will be a boost to the hand unit's posability. ^^


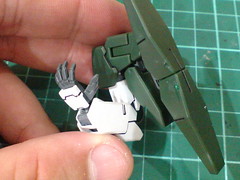
By pulling it outward from the shoulder armor for a small degree, the entire mount rack can be flipped and positioned behind the shoulder armor.

The painted GN Shield Bit's and shoulder armor's interior, and GN Condenser on the elbow turn out to be pretty nice. ^^
Even without positioning the mount rack to the back of the shoulder armor, there's plenty of room for the arm to move around, as the mount rack can be flipped upward pretty widely. ^^
Parts of the right arm.
Foil sticker and painted clear part for the elbow's GN Condenser.
Separable components of the right arm before the final assembly.
Right arm completed.
Same articulation design as the left arm.
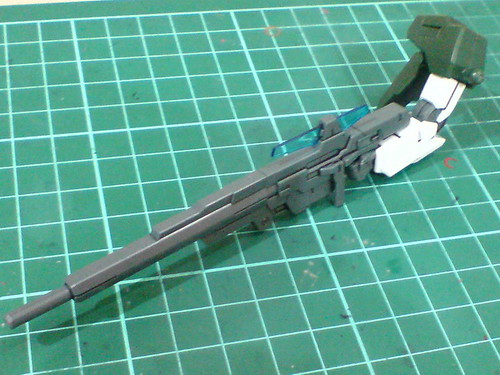
Equipped with the beam rifle in different modes.
Attached the beam rifle to the shoulder armor via the former's mount latch.
Based on the hinge joint of the rifle's mount latch, the beam rifle can be flipped upward when mounted on the right shoulder armor, but the movement isn't as wide as that of the shield bits' mount rack on the left armor.
The beam rifle can stay clear of the right arm's bend to the side via the same flip to the back of the armor as seen on the left shoulder armor.
Done for both arms. ^^
Moving on to the legs in the next posting. ^^


No comments:
Post a Comment