More work on AG 1/144 Gundam AGE-1 Normal after the previous posting. ^^
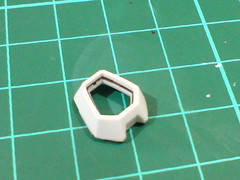
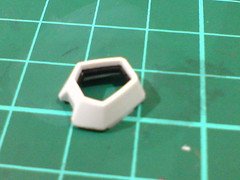
The innermost "ring" of the white chest piece is painted dark gray using Gaia Color 075 Neutral Gray V.
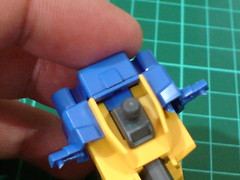
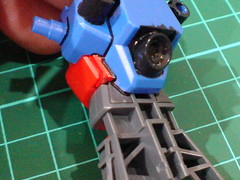
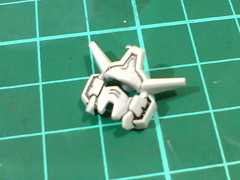
(Left) The thruster area behind the back needs to be painted.
(Right) Of the same part, the connecting point on top of the body should be painted yellow to match the collar's color.

The thruster portion on the back and backpack are painted in dark gray.


(Left) For the spilled over gray paint beneath the backpack, it's going to be mighty hard to scratch on the paint while hoping to get a straight line separating between the painted and unpainted area. Instead of using a knife, a different method can be used instead.
(Right) With the help of a masking tape, the excessive paint to be cleaned off is marked.

(Left) The excessive paint is cleaned off using a cotton swap dipped in thinner - as simple as that. ^^
(Right) A perfectly straight parting line is achieved. ^^

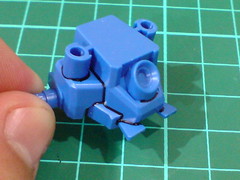
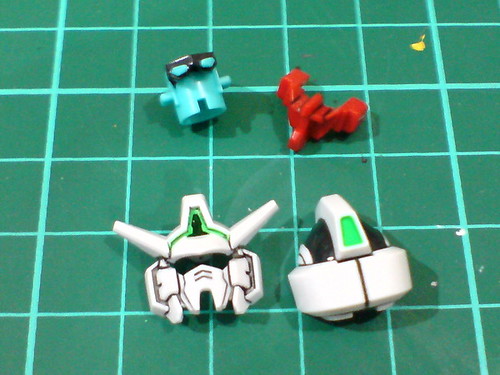
Test fitting the painted parts to see how the components would turn out when assembled. ^^


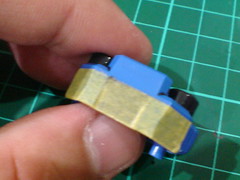
(Left) The waist area is painted using Gundam Marker Red and Gray.
(Right) The collar area is painted using Gundam Marker Yellow.

Test fitting the painted parts to see how the components would turn out when assembled.
The blue portion under the painted area should be treated with the same color as well it seems. ^^;
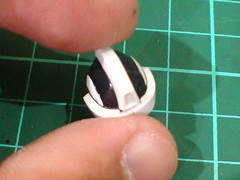
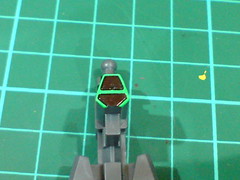
The toothbrush bits behind the V-Fins are going to be chipped off using nippers and knife.
They are marked using a normal red marker to avoid over-shaving of the V-Fins. ^^;
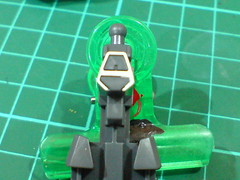
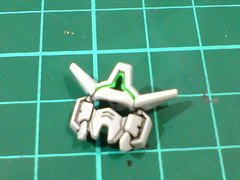
The delicate line details of the face are done (easily) using black paint with thinner method. ^^

The area beneath the forehead is painted dark gray to give it an extra sense of depth.

The area around the eyes and bars on top of the helmet are painted in dark gray as well.
Mentioned in Part 2 that the area around the eyes would be overshadowed "naturally" when the head is assembled, but I suppose painting it explicitly would give it a much more solid look, especially in close-ups. ^^

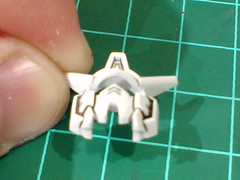
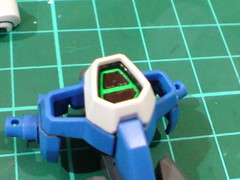
To paint the "A" crest, the fluorescent green portion is painted white using White Surfacer first.
A white base color would make the fluorescent green paint stands out even better I believe. ^^
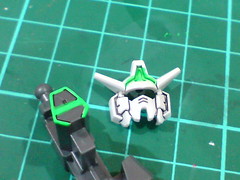

The "A" crest is painted in fluorescent green, as with the forehead sensor (pretty much the entire sunken forehead area actually ^^;) and the one on the back of the head.

The paint used is Mr. Color 175 Fluorescent Green Flat.
The black area shown is painted black using panel liner.

Test fitting the painted parts to see how the components would turn out when assembled.
The innermost "ring" of the white chest piece that was painted dark gray earlier on helps to highlight the fluorescent green "A" crest. ^^
Excessive paint around the forehead sensor is scratched away using a knife.
The black area shown is painted black using panel liner.
Done for all the head's parts.
While the straight assembly did in Part 2 was really fun, when the model were taken apart for panel line and paint work, everything feels rather "normal" ^^; - many BB Senshi Sangokuden kits I have require about the same level of paint work to realize their intended color scheme. Adding details to the beam rifle (Part 3) was pretty cool though. ^^ Seeing how the "A" crest turns out in the little test fitting shown above was very nice too. ^^
As usual, there'll be a bit of offset time between now and when I revisit all the parts again for the final assembly. ^^


No comments:
Post a Comment