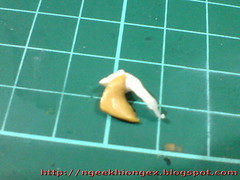
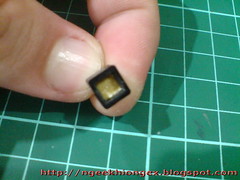
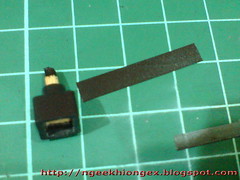
Recently, when I was adjusting some action poses on my HGUC Geara Zulu while it was on Action Display Base 2, the latter's connector pin broke clean off. ^^;
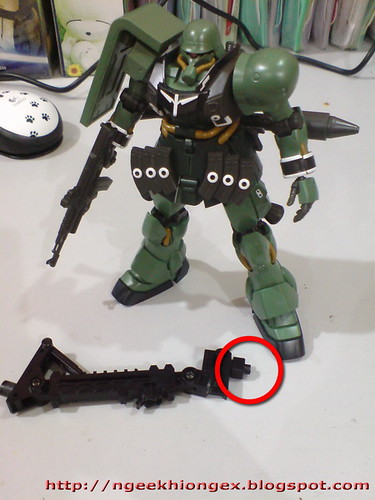
The broken pin is left inside the slot beneath the model's hip part. ^^;
It was a very depressing sight to me, because I had broken a few pieces here and there on my older model kits, and now it seems that even supporting tools can't escape my abusive hands. X_X Without that broken pin, that particular connector part is just as good as useless really, since there's nothing on it that can be used to support the display of Gunplas anymore.
The other clip-type connectors can be used as substitutes for its broken "brother", ^^; but I'm not someone who is willing to replace something until I'm able convince myself that it's beyond salvage, and looking at the broken connector piece, I don't think that it's beyond salvage at this point. I have to try to repair it, and I should do it now that I have more tools than ever to try out various tricks. ^^ While figuring ways to solve this problem, I thought it would be a good idea to document the entire process, just like what I did to fix MG Zaku II's hip joint as shown in June 2010. ^^
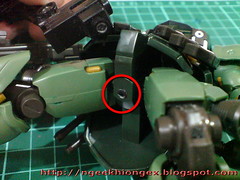
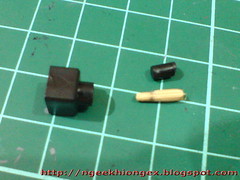
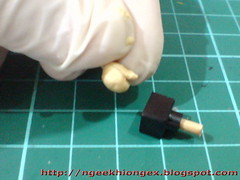
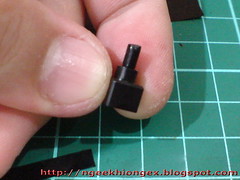
The broken pin is extracted from the hip part, somehow. ^^;
I think I used pin vise to drill into the the broken piece and pulled it out.
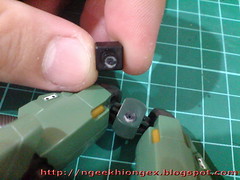
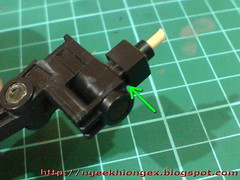
On the connector piece, the remaining bits of the pin is shaved away using knife.
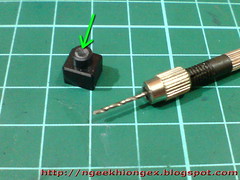
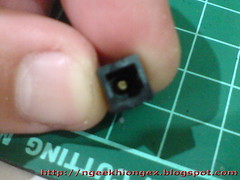
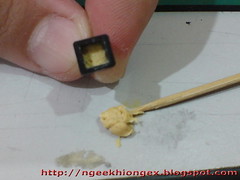
A hole is drilled into the center point using pin vise with 1.0mm drill bit.

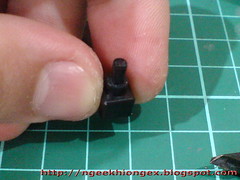
The hole is enlarged by shaving its inner wall off bits by bits using a knife.
I was initially thinking of heating the tip of a screwdriver and use that to poke a hole on the connector. That that would make this job seem like nothing at all, but the risk of creating a "crater" prevented the idea from actual realization. ^^
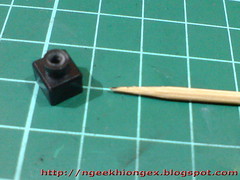
While enlarging the hole, a toothpick, which would eventually be used as the substitute pin is inserted through the hole to test if the right size had been achieved to fit it on the connector.
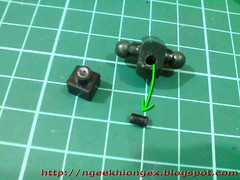
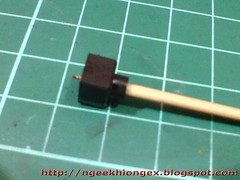
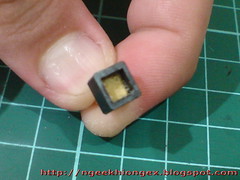
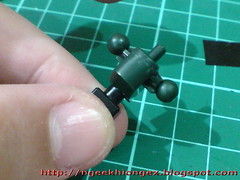
When the hole on the connector part is of the right diameter, it's cropped using tweezers, with the protruding height of the pin from the connector following the broken pin extracted just now.
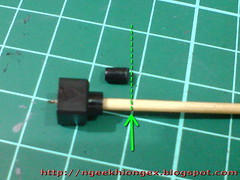
Comparison of the old and new pins. I made sure that the "pile" of the new pin (the toothpick's tip to appear beneath the connector) is not too short so that it could provide enough support for the model above it later on.
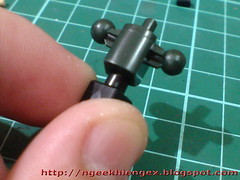
Test fitting the new connector with HGUC Geara Zulu's hip part. The pin is still very flimsy at this stage. ^^;

The interior of the connector part is filled till half full (or enough to cover up the toothpick's tip to be exact) with Tamiya Epoxy Putty Quick Type to serve as the foundation for the new pin.
(Left) The part is left to dry for a day.
(Right) Since some space inside the connector is filled up with the putty, it won't be able to fit completely onto the display stand anymore, but the support is still strong and sufficient for it to hold a model kit I believe.
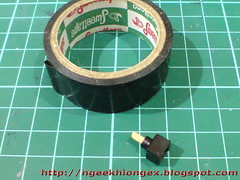
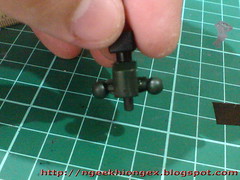
(Left) As tested earlier on, the new pin has a smaller diameter to really hold on to the hip part, so black wire tape will be used to help it put on some weight XD
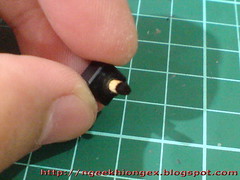
(Right) The tip of the pin which won't be covered by the wire tap is painted black using normal marker.

While the height of the tape to be cut has an easy and concrete reference to the height of the pin, the exact length which would determine the extra diameter to be added is purely out of speculation.
I'm hoping the slight elasticity of the wire tape can provide some degree of flexibility in fitting into the hip part.
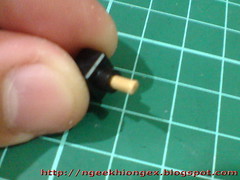
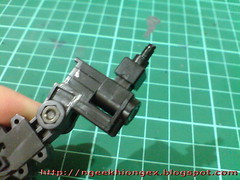
Action Display Base 2 pin-type connector reborn. ^^
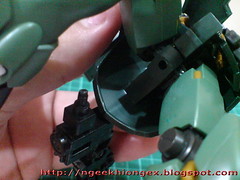
Test fitting the new connector with HGUC Geara Zulu's hip part again.
The connection is firm this time, and it doesn't fall out in an upside-down position. ^^
All is well again with the connector, and it's immediately rolled out into service. ^^
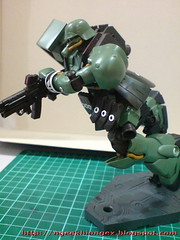
The fix on the connector pin isn't too obvious without zooming in onto it, which is another success point of this salvage operation. ^^
The base used is actually from another Action Display Base 2 set, of gray color obviously.
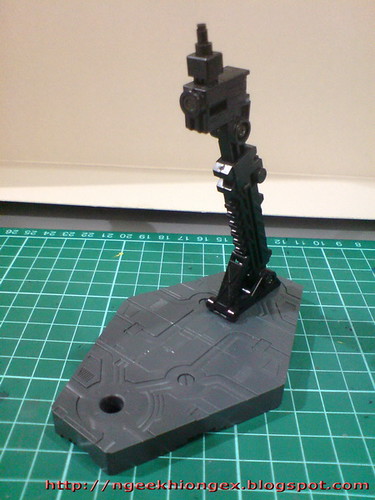
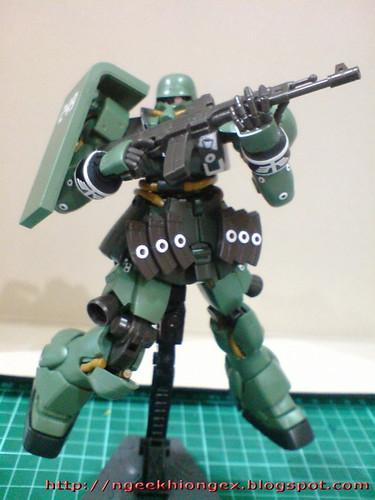
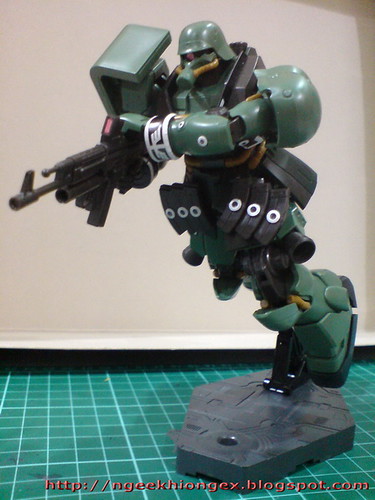
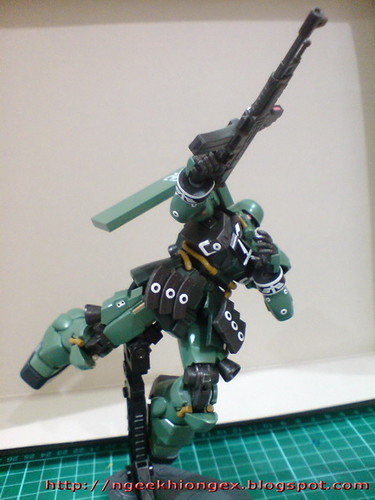
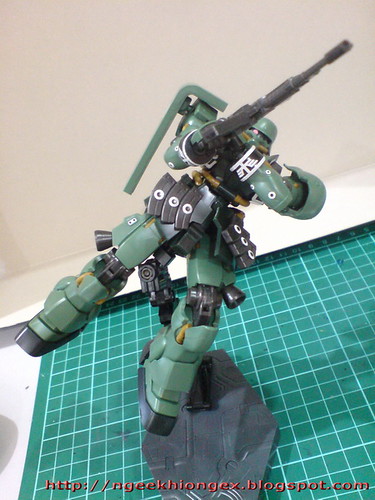
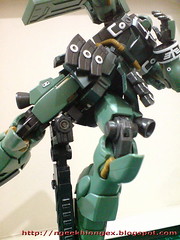
Done with the work on the connector part and it's indeed alright with the hip part now, but I can't call it a complete success if it's not tested with a real model kit right? HGUC Geara Zulu is the most immediate model kit I have at the moment when this review was written, so the final testing will feature this kit. ^^
Normal position for the connector: OK.

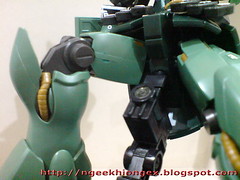
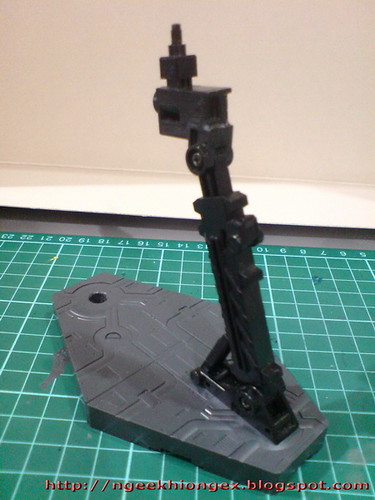
With the connector slightly tilted rearward: OK.
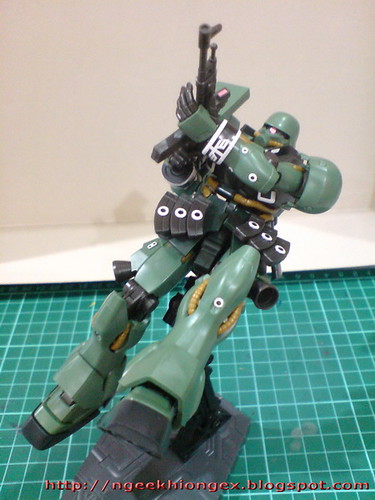
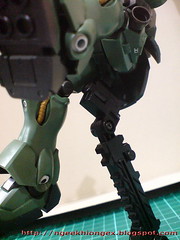
With the connector tilted rearward for a much wider degree: OK.
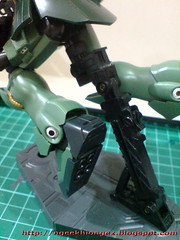
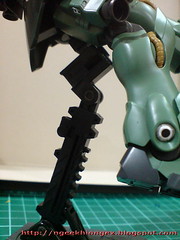
With the connector tilted forward for a wide degree: OK.
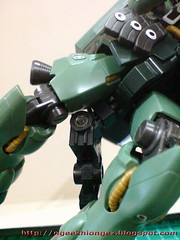
With the connector tilted to its side: OK.
All green! No pun intended for Geara Zulu's body color there. ^^ "Renewed is the connector that is broken, the pin-less again shall be servant." - modified with "evil intention" from "The Lord of the Rings: The Return of the King". XD I'm very pleased now that the connector has been repaired. It's not too complicated anyway, as compared to the repair on MG Zaku II's hip joint. Seeing how the connector is working again, I feel that it would have been a terrible shame if I actually gave up on it when the problem occurred. It's a small part nonetheless, and there are substitute parts that can replace it, which would work just fine. Ultimately, one can just get another Action Display Base 2 set which is neither too pricey nor hard to assemble to completely replace everything. I think the point here is: there are plenty of options instead of having to repair this small part. Still, nothing beats the joyous feeling of repairing a broken item and seeing it back in action again. It almost feels like I just assembled a brand new model kit. XD
Then again, I'm reminding myself not to have too much fun with adjusting action poses on my model kits in the future. ^^; Just because it's possible to repair these stuff doesn't mean that seeing them broken is a happy experience to begin with. ^^;


No comments:
Post a Comment