Starting to work on HG 1/144 scale Ali al-Saachez's Customized AEU Enact Custom after introducing the kit in the previous posting.
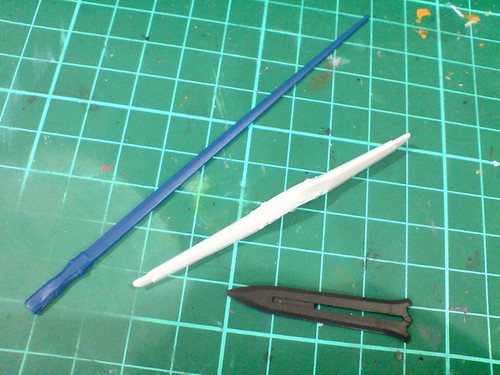
Like 1/1 scale HoiHoi-san, AEU Enact Custom's weapon parts will need quite a bit of paint work. ^^;

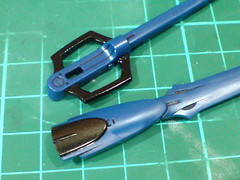
Images of a completed model from the manual. The Sonic Blade will need to be painted light blue and parts of the Defense Rod are black.

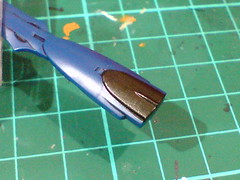
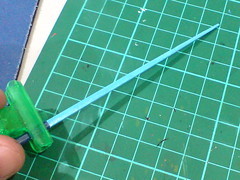
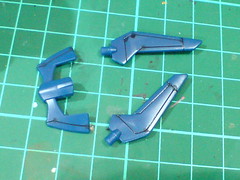
While the expanding blade part on the Blade Rifle is shown to be unpainted, I figure it would be a good idea to give it the GN Sword treatment, where the edge of the blade is painted silver.
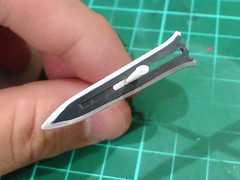
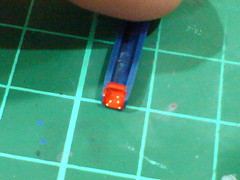
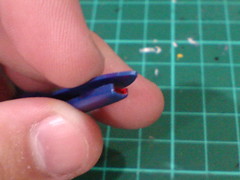
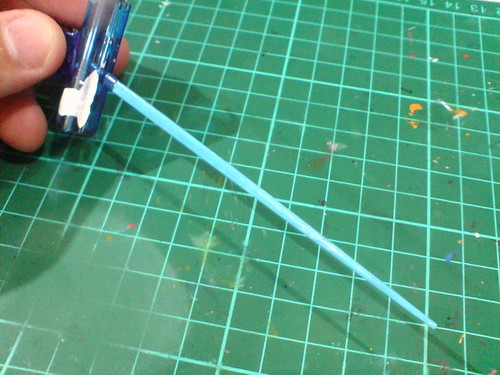
Initially, the blade's edge is painted using Tamiya Paint Marker X-11 Chrome Silver, with excessive paint on the body scratched away later using a knife. However, while doing that, I couldn't get the front portion of the blade right after numerous attempts. ^^;
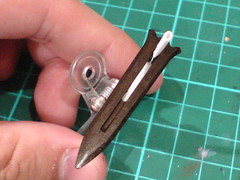
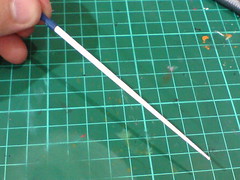
Going to Plan B. ^^; The entire part is painted using Gaia Metallic Color No. 020 Gun Metal first. Will revisit this part in another posting to move on with painting the edge, with a somewhere different method. ^^
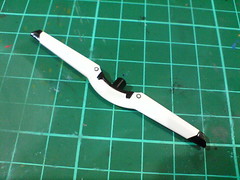
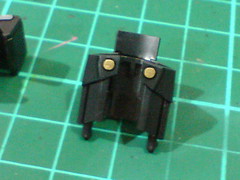
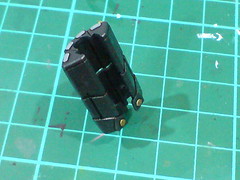
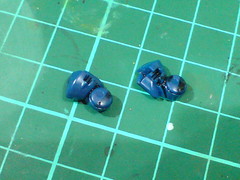
Targeted areas on the Defense Rod are painted using Gaia Color 022 Semi Gloss Black.

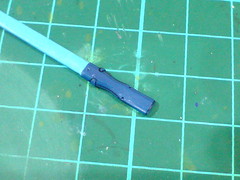
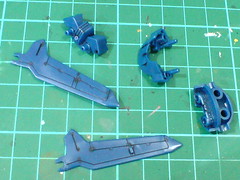
While the Blade Rifle's body is shown to be unpainted in the manual (except for the "cap" near the stock), I think some optional paint work will enhance its look.
(Left) The supporting handles are painted using Gaia Color 022 Semi Gloss Black to make it consistent in look with the rifle's own handle.
(Right) The "cap" (magazine for the rifle?) is painted with Gaia Metallic Color No. 020 Gun Metal.
With panel lines added to the parts when the paint has dried.
The muzzle is painted red using Gundam Marker to make it more noticeable beneath the body part.
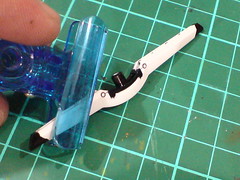
The Sonic Blade is painted white using Gundam Marker first as its base color, then light blue using Mr. Color 323 Light Blue Gloss.
When the light blue paint has dried, the entire blade is coated using Gaia Color 030 Semi Gloss Clear to give it a glossy surface. ^^
Panel lined the handle.
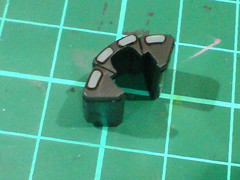
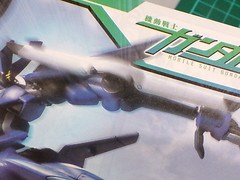
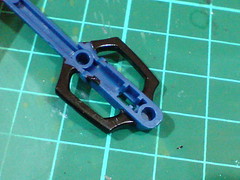
To make them more noticeable on the black part, the four missile pods are painted using Gundam Marker Gray. ^^
(Left) Two round dots on the rear part are painted using Gundam Marker Gold to enhance the missile launcher's overall look.
(Right) Test fitting the parts to see how the missile launcher would look like when the parts are assembled. ^^
Parts with elaborate line details are identified and panel lined using Tamiya's Panel Line Accent Color (Black).
Lack of planning is perhaps the cause of trouble for the expanding blade's paint work. ^^; Molded in black, it's hard enough to see the border between the flat and the edge, and I'm suppose to accurately paint the latter. ^^; It was a foreseeable obstacle which I didn't think about properly before jumping into the paint work. For a supposedly simple kit, this particular part is giving me a bit of headache, right at the starting phase of the entire work too. ^^; Hopefully subsequent batches of work would work better for me. ^^;


No comments:
Post a Comment