Continuing with the final assembly of Keropla God Keron's Tamama Robo Mk-II after the previous posting. ^^

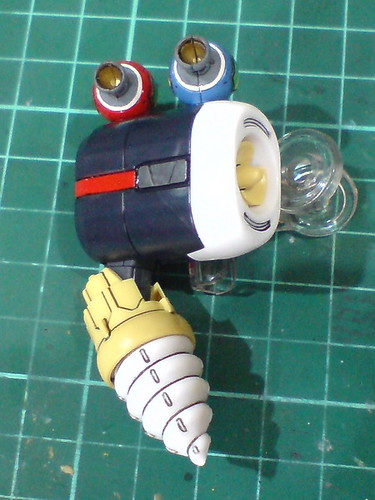
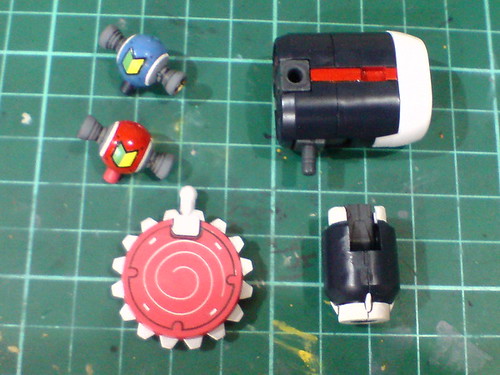
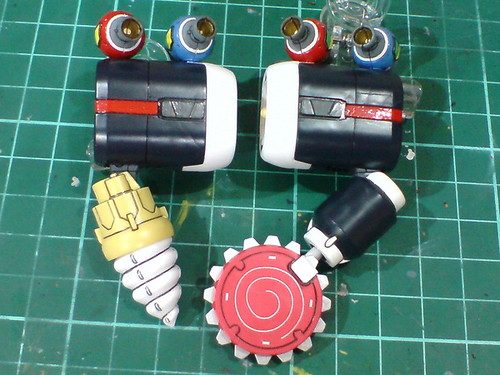
Parts of the right arm.

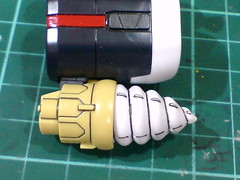
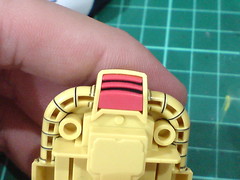
The candy-like thruster that went through several rounds of paint work featuring different paints to realize their intended colors back in Part 6 and 7. ^^;
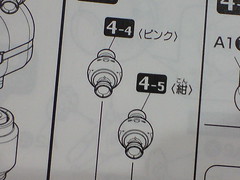
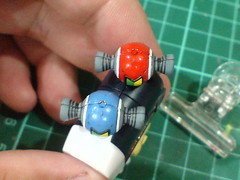
Each shoulder mounts one pink and one blue thruster, and their positions are indicated in the manual via their color name. Given that the information is in Japanese, it's not exactly helpful to people who can't read that language. ^^;
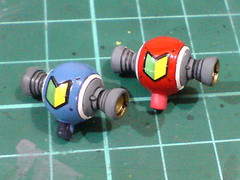
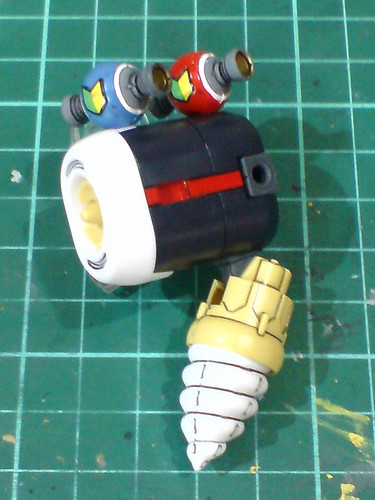
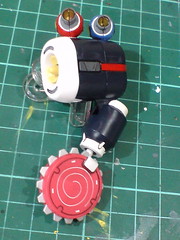
Done for the two candy thrusters.
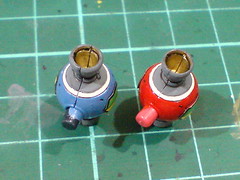
Due to excessive paint on the connecting edge which weren't cleaned off after Part 7, the split between the parts is very obvious. ^^;

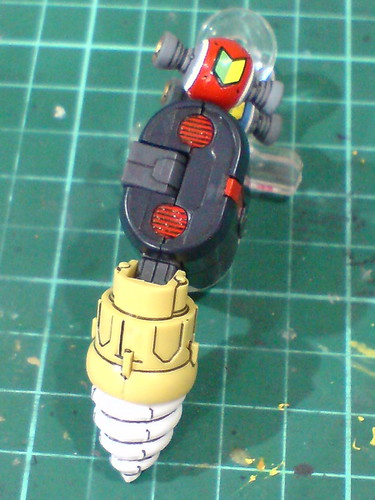
Assembled the propeller.
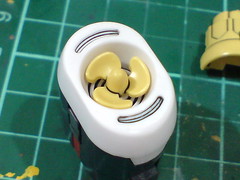
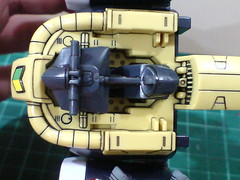
The design delicacy of the molded vent slits inside the shoulder still amaze me. ^^

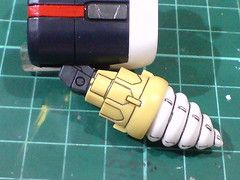
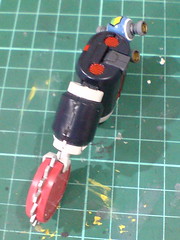
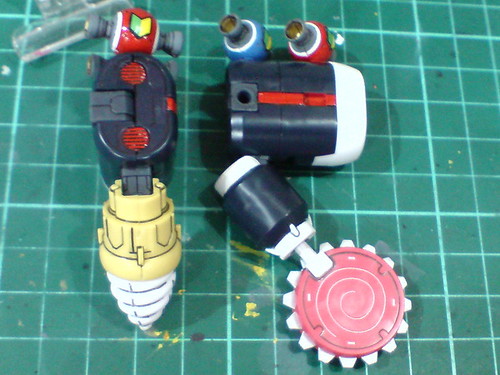
Separable components of the right arm before the final assembly.
Done for the right arm.

The Keropla-only polycap part for the elbow joint can actually be bent outward to extend the arm to the front.
Very easy 90-degree bend for the elbow itself.


Left and right swivel at elbow level is possible for the right arm as well.
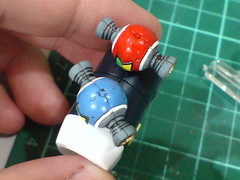
The candy thrusters on top the shoulder are individually movable.

Parts of the left arm.
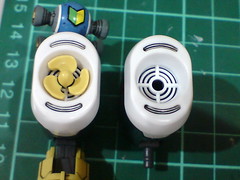
Another look at the shoulder vent's details. ^^
Separable components of the left arm before the final assembly.

The left arm is completed.
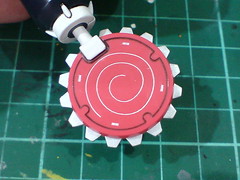
The lolipop saw was painted in Part 8 and 20.
Both arms are now done.
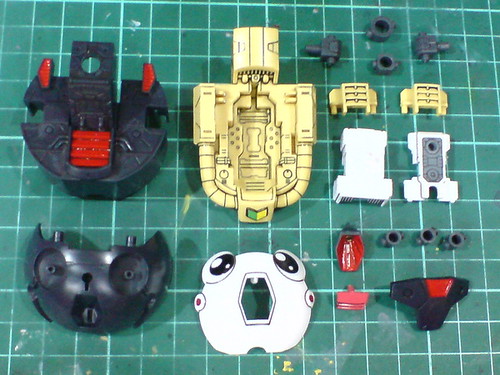
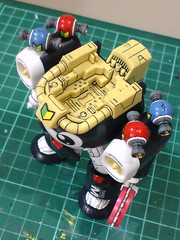
Parts of the body.
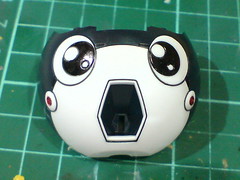
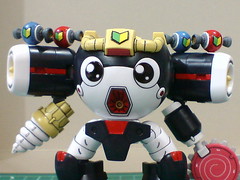
Just three parts to form the very colorful giant Tamama face-chest. ^^
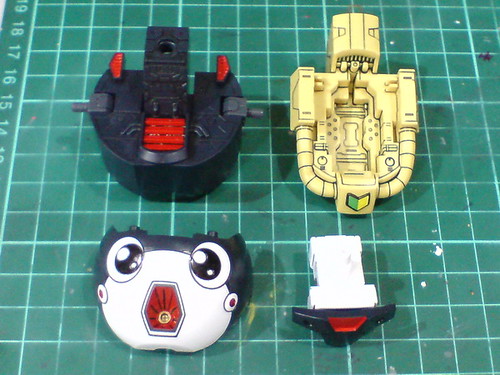
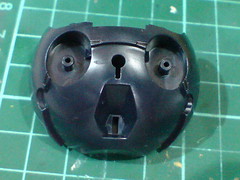
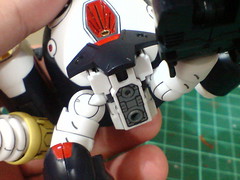
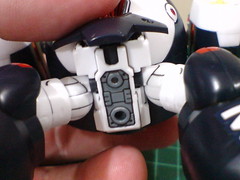
Separable components of the body before the final assembly.
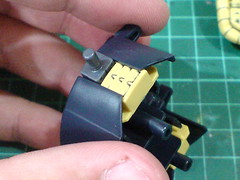
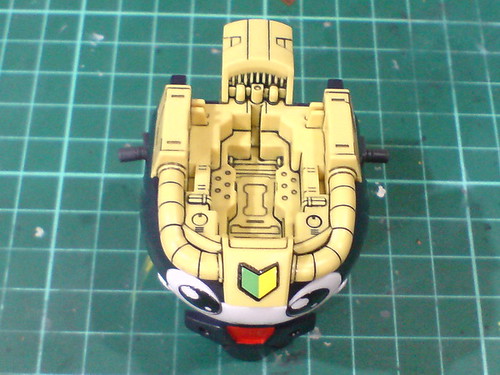
The vents in front of the shoulder joint and beneath the collar area are separately molded parts in their intended colors, even though they aren't exactly noticeable when the model is completed.
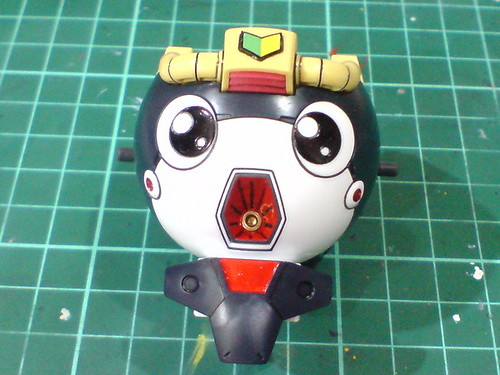

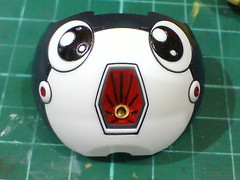
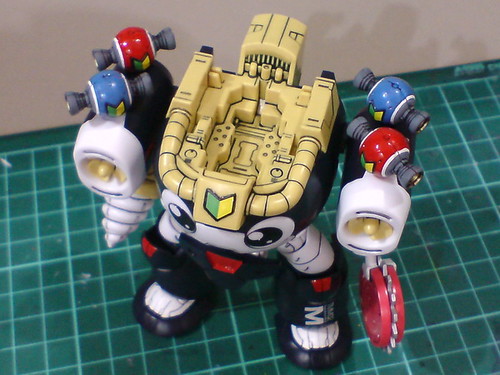
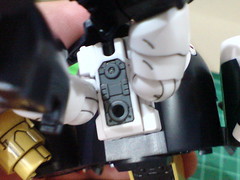
Done for the body unit.

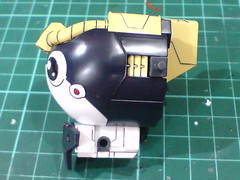
The shoulder joint can be bent forward and backward; the waist has normal swivel joint design as well.

A complete 90-degree backward bend is possible with the shoulder joint, which is meant more for the Tamama Robo Mk-II's transformation design.

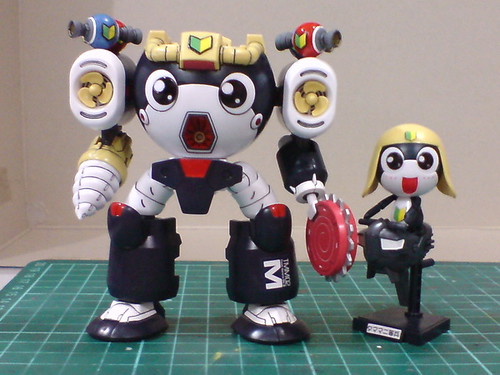
Comparison between the body unit and the mini figure of Tamama completed in the previous posting.
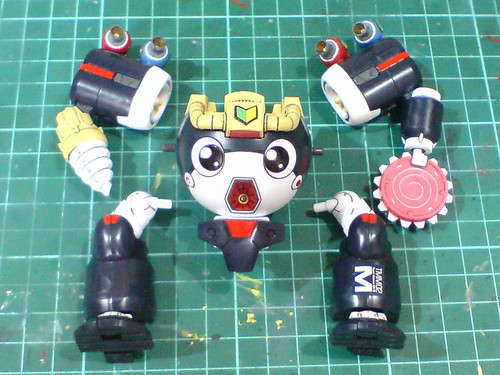
All components gathered for the final assembly. ^^


All done for Tamama Robo Mk-II. ^^
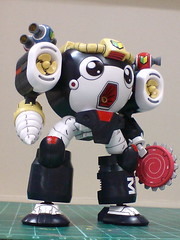
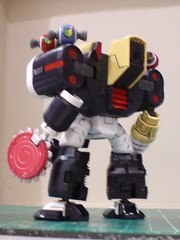
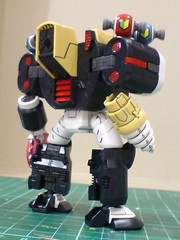
A few more images of the completed model.

Consisting of two separate polycap parts for each shoulder, the shoulder joints work in similar way as the elbow joints shown earlier on. Apart from swiveling upward/downward, the joints allow the shoulders to be flipped backward, which again is meant more for the transformation gimmick rather than actually robot articulation.
Using the polycap parts inside the waist, the legs can swivel forward/backward.
For the model's transformation gimmick, the hips can be tilted downward for a slight degree. As God Keron's left arm, the legs would snap together between their backs.
With Tamama.

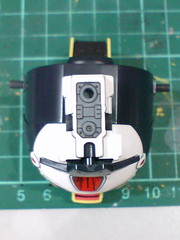
The control pod is mounted onto Tamama Robo Mk-II the same way as Keroro and his robot. The connection between the pod and the neck area is just as secure as well. ^^

Tamama with Tamama Robo Mk-II. ^^
More images of the completed model in the next posting. ^^


No comments:
Post a Comment