It's time for Keropla God Keron's final gattai! ^^

All the individual components from the previous posting. ^^
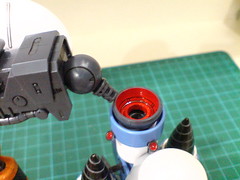
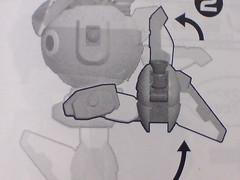
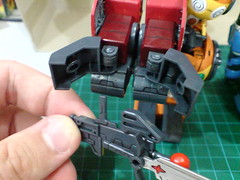
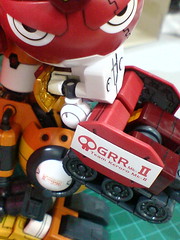
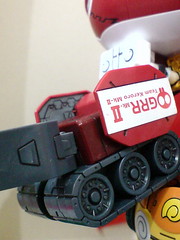
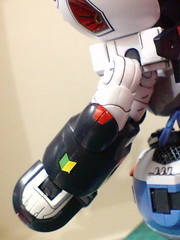
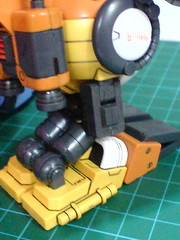
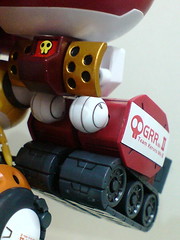
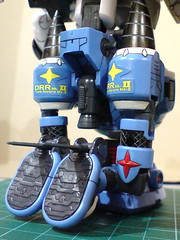
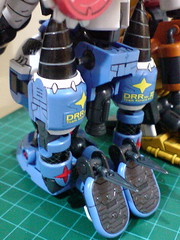
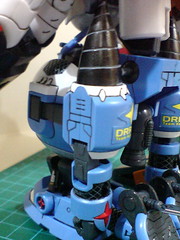
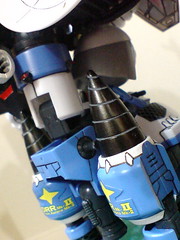
To form the lower body, the ball-type joint from Kururu Robo Mk-II is pegged into the rear thruster behind Dororo Robo Mk-II.
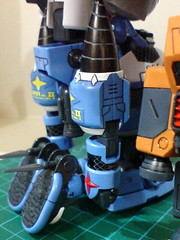
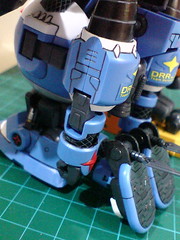
The now hips joints have been readjusted to have their hinges facing outward, instead of forward like what I did in the previous posting. This does help to create a wider gap that avoids collision between the two legs.
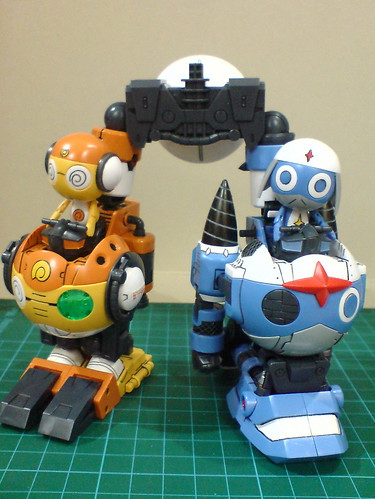
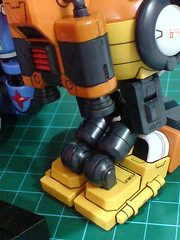
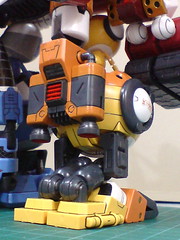
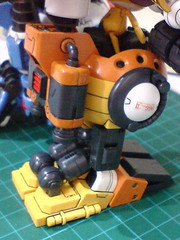
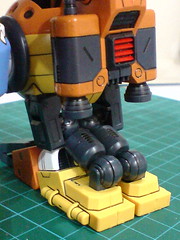
The lower body is done.
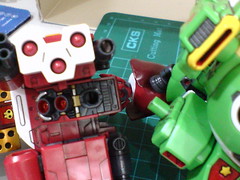
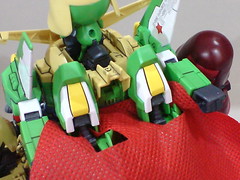
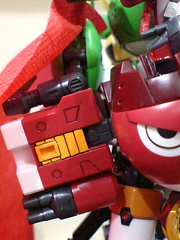
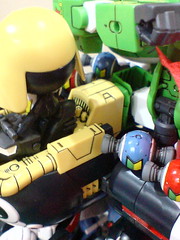
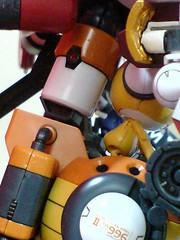
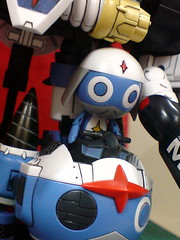
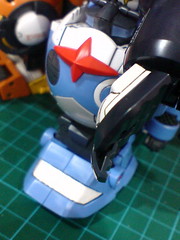
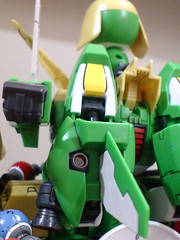
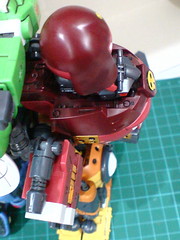
To form the upper body, the pegs on either side of Keroro Robo Mk-II's hips must be pegged into the large slots behind Tamama Robo Mk-II, and Giroro Robo Mk-II.
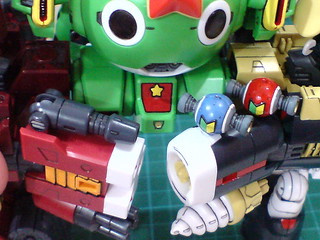
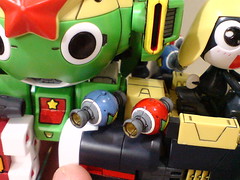
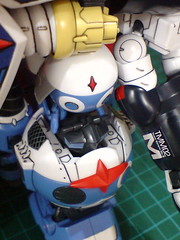
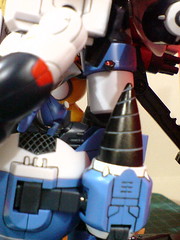
While the connection of the pegs is pretty easy, the two arm components' shoulder blocks just don't line up properly in front of God Keron's body, as they are pushed outward from behind by the front vents of Keroro Robo Mk-II's hips. ^^;

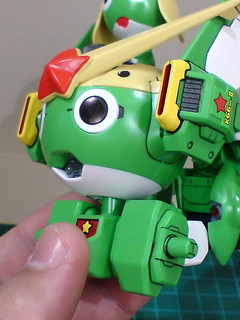
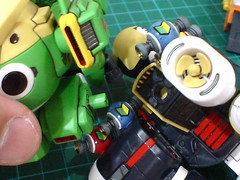
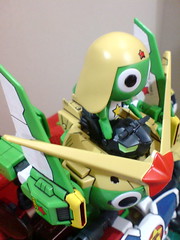
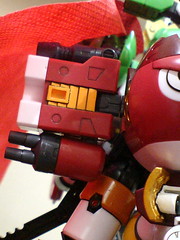
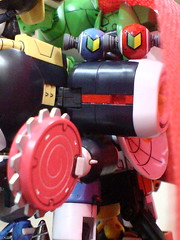
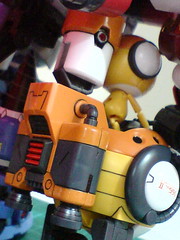
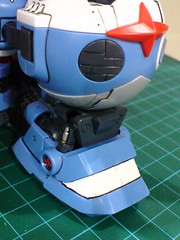
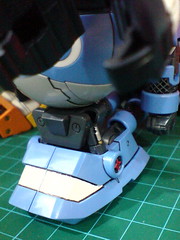
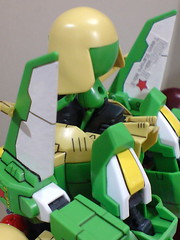
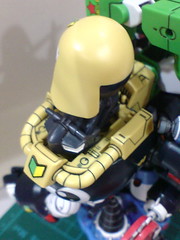
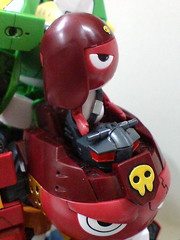
To correct the misalignment, Keroro Robo Mk-II's hip blocks are adjusted downward, until the flat top section is exposed in front. The head (the mecha's body) needs to be pulled upward slightly to accommodate the rear edge of the hip blocks.
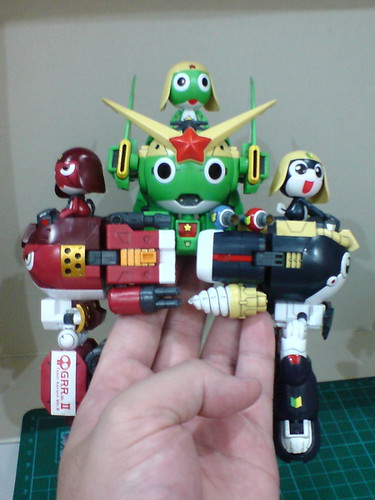
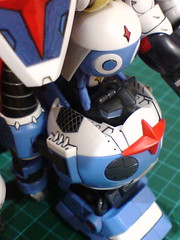
With both arms reattached to their designated shoulder pegs.
No more protruding section for the chest area. ^^
Configuration for Keroro Robo Mk-II's hips and legs as shown in the instruction manual.
This is working at all! ^^;
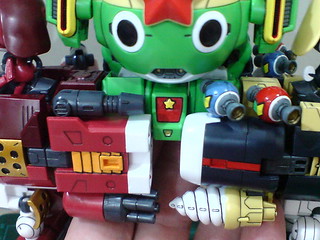
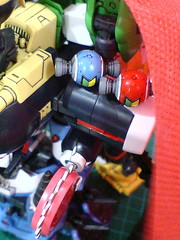
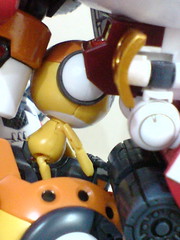
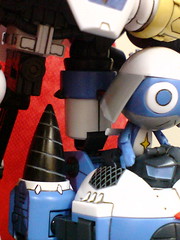
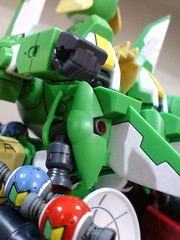
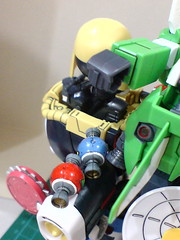
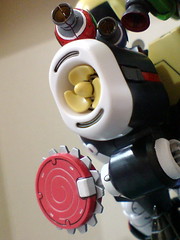
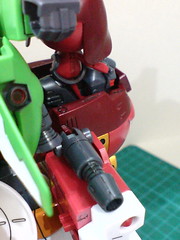
The candy thrusters on Tamama Robo Mk-II's shoulder blocks can be adjusted to help fill in some of the gaps around the chest area.

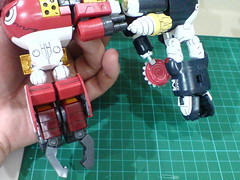
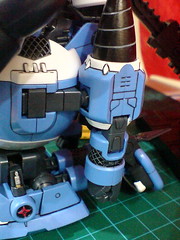
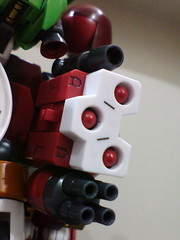
The forearms are rotated around at elbow level (the waist swivels on the individual robots) so that the joints are facing forward.
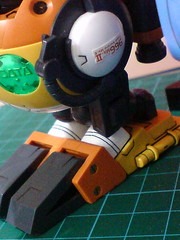
To connect between the upper and lower halves, the double pegs on the waist must go into the slots beneath Keroro Robo Mk-II.
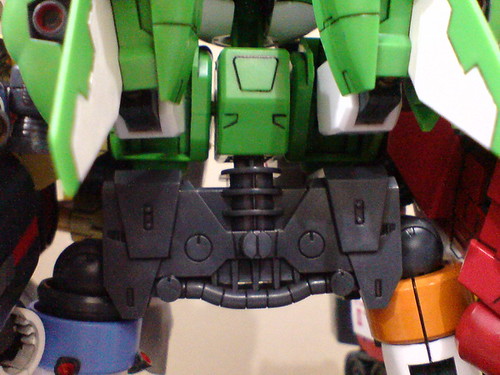
Just enough connection to get the upper body sitting firmly on top of the waist. ^^
I think the a gapless connection is possible, with the pegs completely embedded inside their slots, but I'm not going to attempt that for fearing the connection would be too tight for the components to be taken apart later. ^^
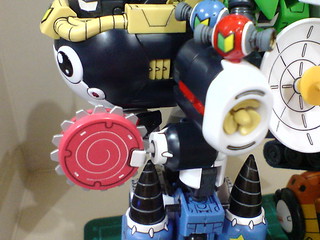
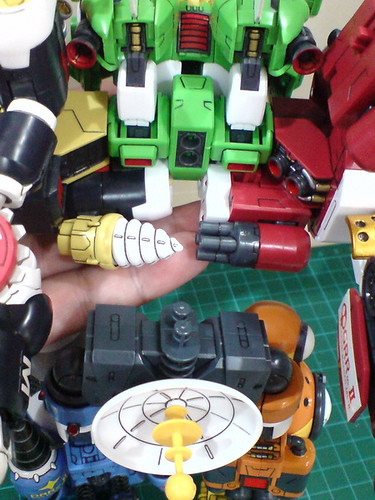
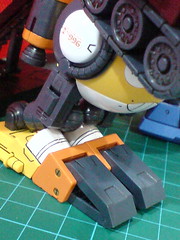
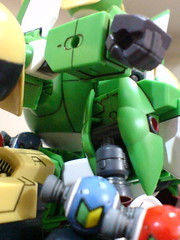
As the downward-facing lollipop disc saw is colliding with the back of the left leg (Dororo Robo Mk-II), I bent it upward to position it behind the left arm. Given the latter is quite large in size, the saw's new position isn't going to make it become overly noticeable and distracting. ^^
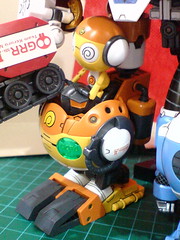
Everything is coming together pretty nicely now. ^^
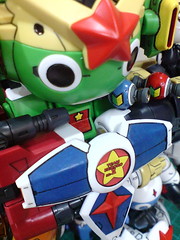
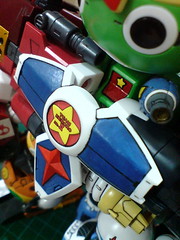
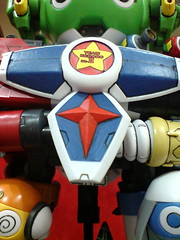
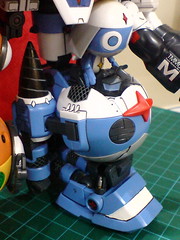
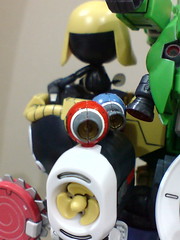
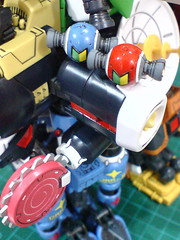
The two square slots on the chest panel will be used to mount the combined chest plate.
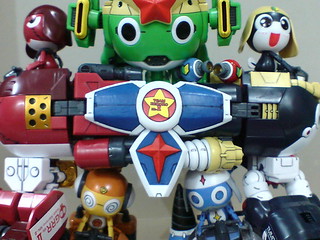
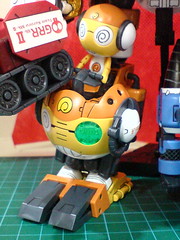
With the chest plate attached.
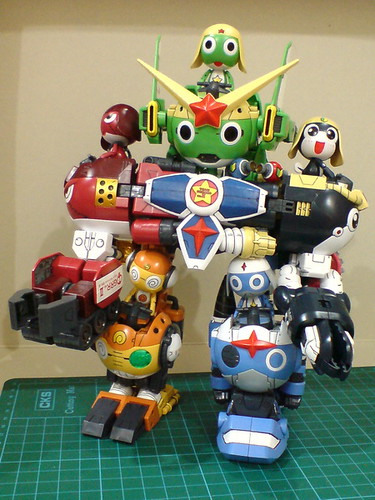
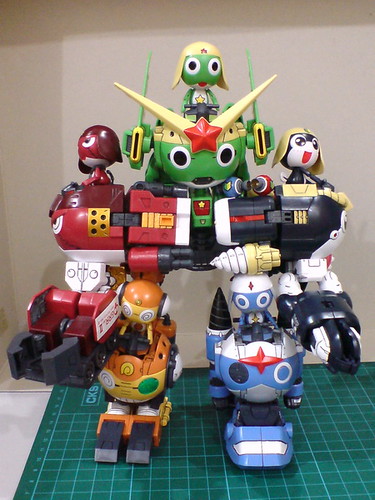
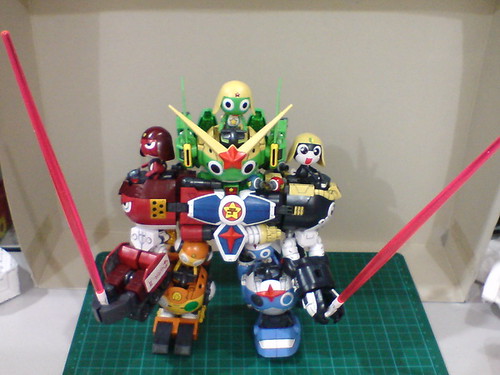
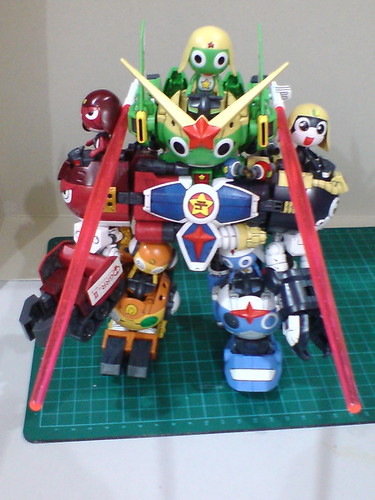
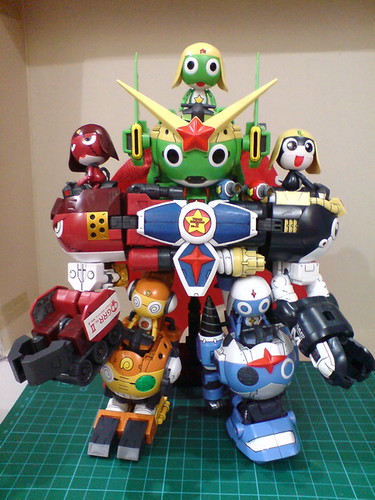
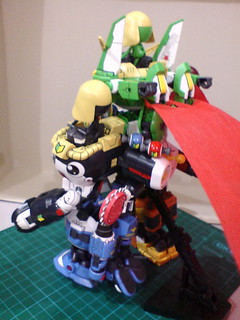
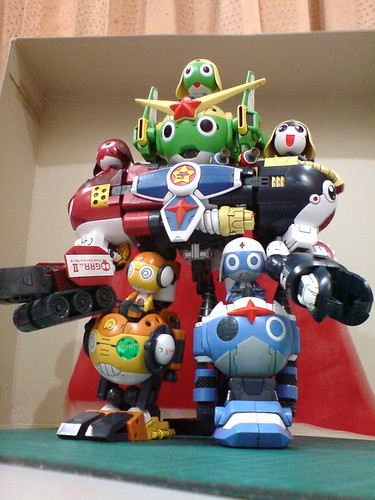
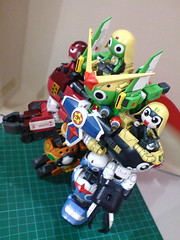
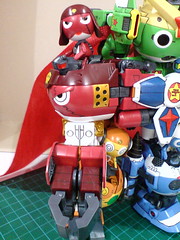
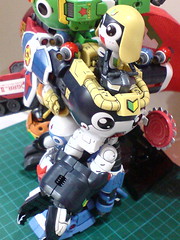
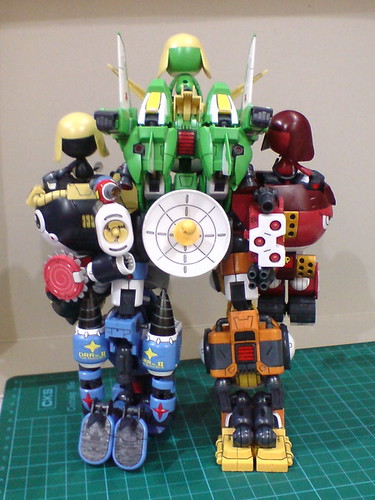
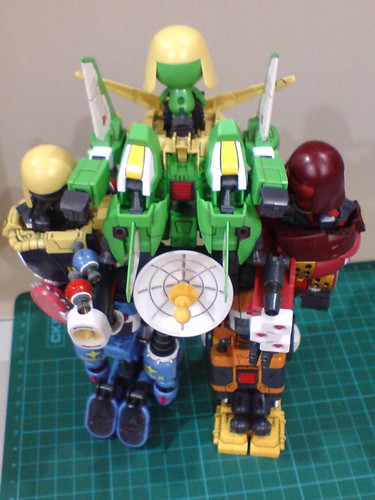
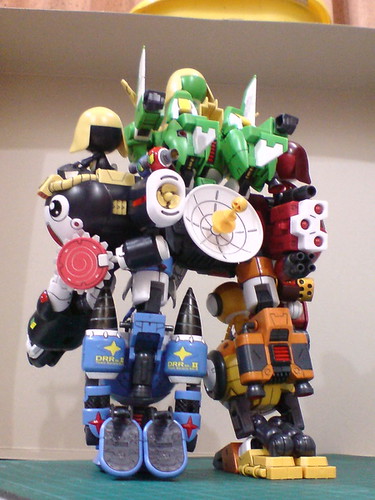
All done for God Keron's combination.
As you can see, it's able to stand very firmly without needing its support stand. ^^
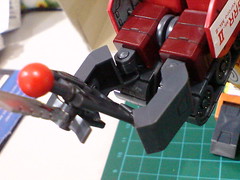
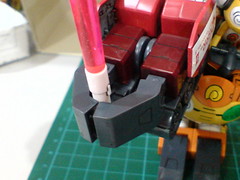
The rifle handle can be pegged into either slot inside the right clamp to give God Keron his combo weapon.
Unfortunately, the rifle-blade is meant solely for the right clamp I believe. The square slot on the left claws is too big for the handle to be pegged into firmly. ^^;
God Keron with the weird rifle-sword. ^^;
Weird weapon is just fitting for equally weird robot hand I suppose. ^^;
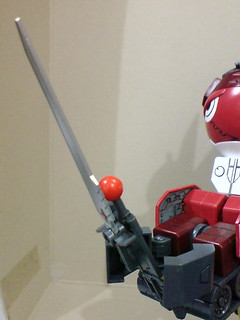
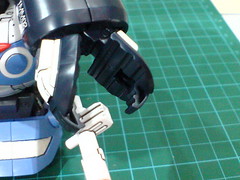
The round slot inside the right clamp can also be used to mount the peg of the beam saber handle.
The beam saber shown in the images above is meant more for the left claws actually, evidenced by the square block on the other side of the handle.
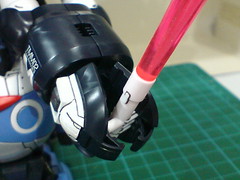
Mounted the beam saber to the left claws.
Double Beam Saber God Keron. ^^
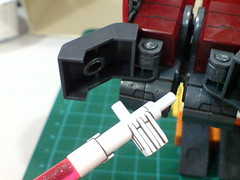
Briefly mentioned in Part 49, the beam saber handles can also be mounted to either side of the head, via the slots on Keroro Robo Mk-II's forearm.
Assuming the heat generated by the weapon don't roast Giroro and Tamama first (XD), they are beam cannons in this mode. ^^
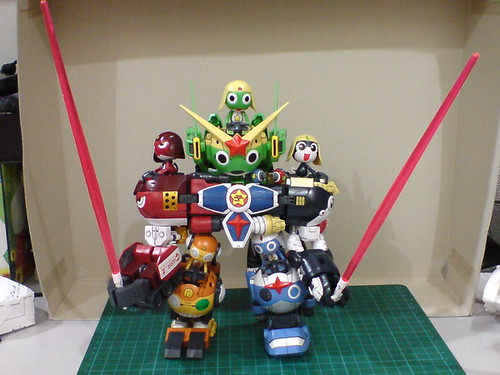
Double Beam Cannon God Keron. ^^

The weight of God Keron is more than enough to balance the heavy beam parts when it's attached to the model in a vertical position.
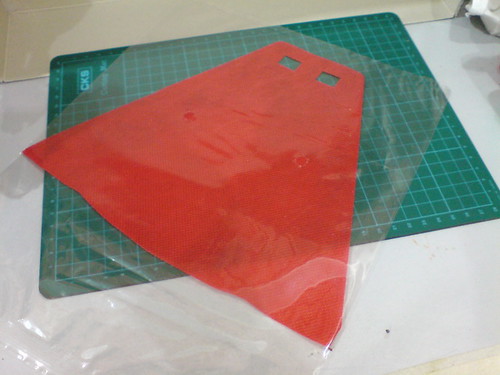
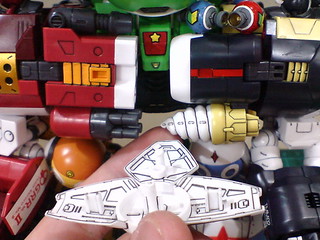
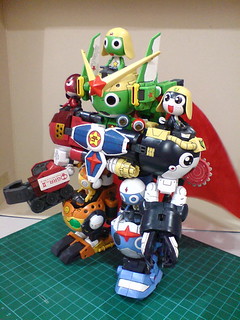
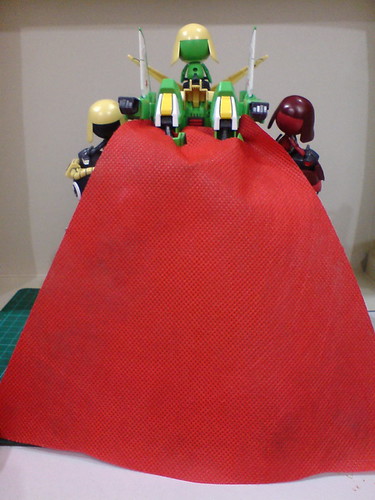
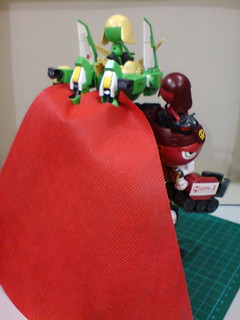
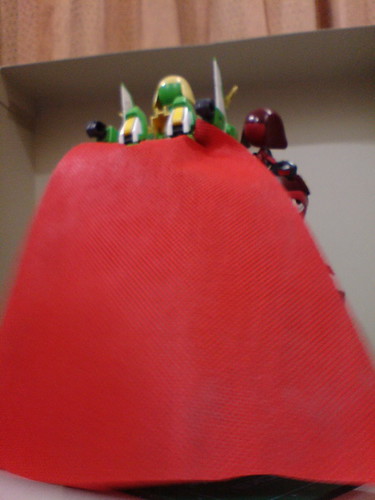
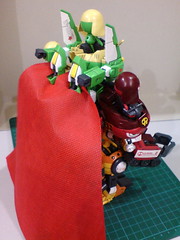
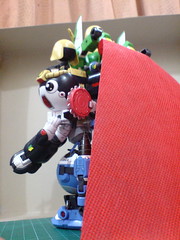
The red cape, perhaps the most interesting new "part" included for this bundled set is making its debut now, when the entire review is just about to end. XD

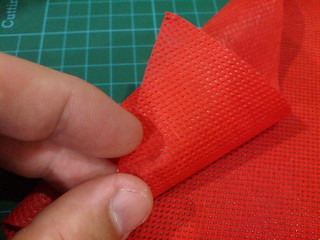
The flexible, but not-too-soft fabric material of the cape.

The pre-cut square slots near the top edge of the cape.

Interestingly, Keroro Robo Mk-II's feet are the connectors for the cape. ^^

The feet are folded outward to allow the cape to be slid onto the backpack via the aforementioned square slots. After that, the feet are folded back in place again to secure the connection.
The mount latch beneath the waist to connect to the support stand.

With the support stand deployed, even though it's not exactly needed by God Keron. ^^
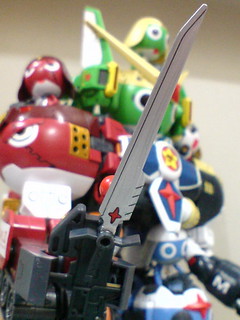
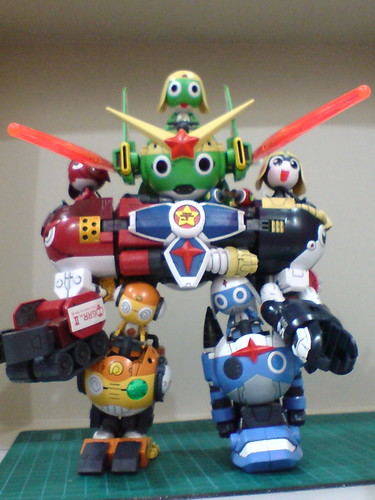
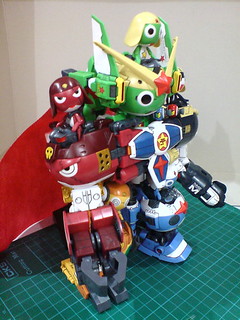
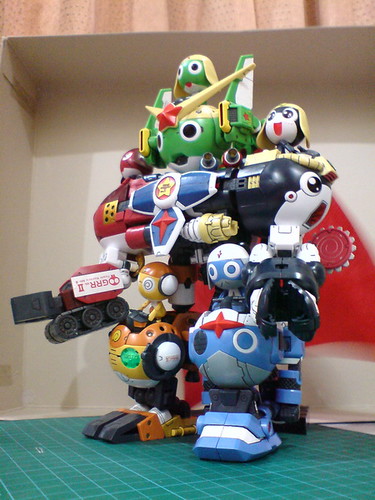
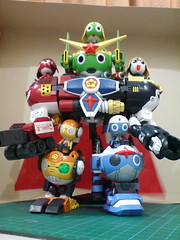
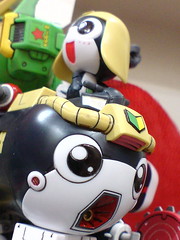
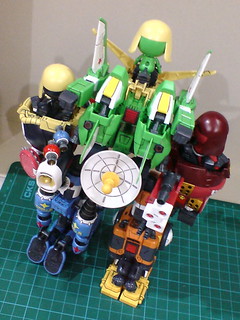
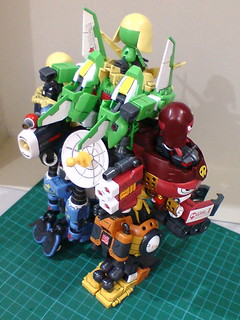
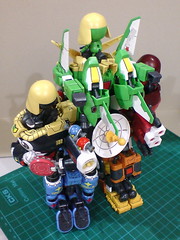
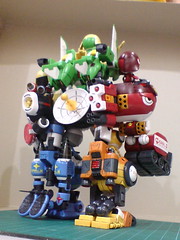
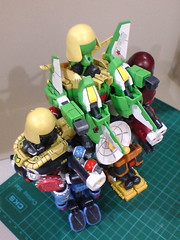
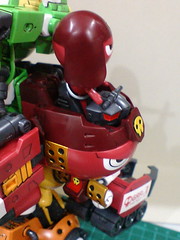
More images of the completed God Keron:


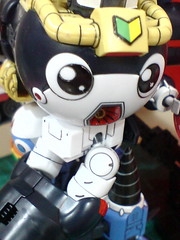
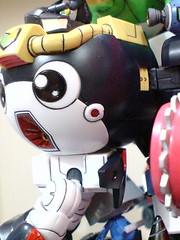
Closeups on the details:

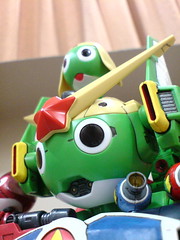
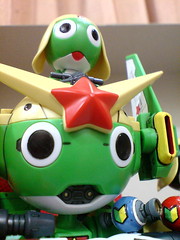
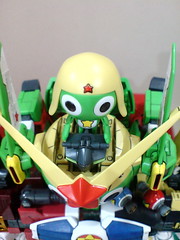
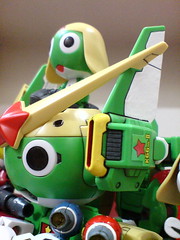
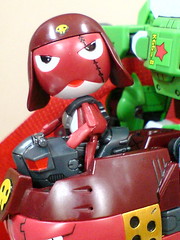
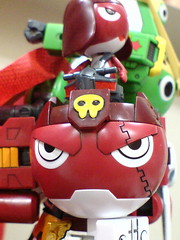
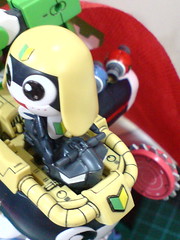
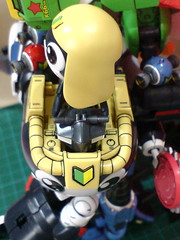
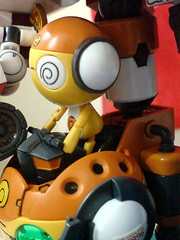
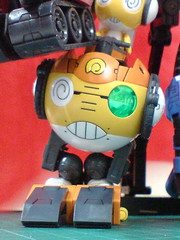
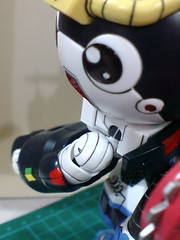
[Keroro & God Keron's head]

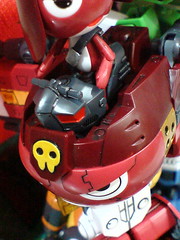
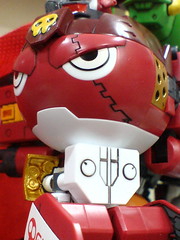
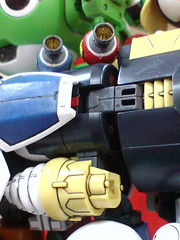
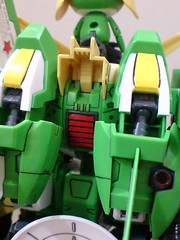
[Chest]

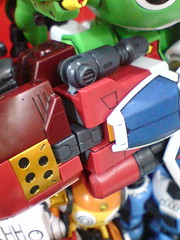


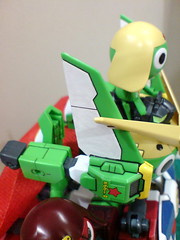
[Giroro & God Keron's right arm]


[Tamama & God Keron's left arm]


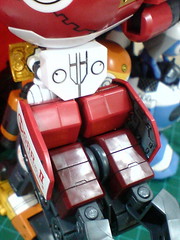
[Kururu & God Keron's right leg]


[Dororo & God Keron's left leg]
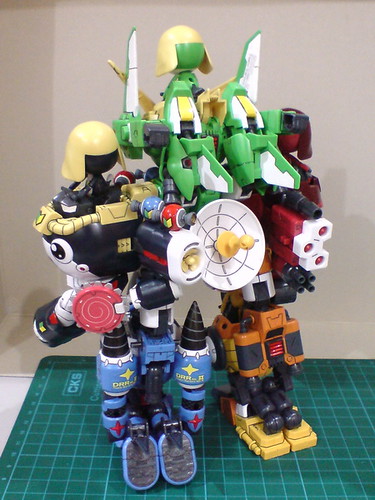
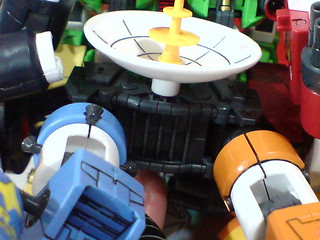
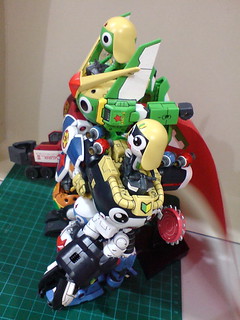
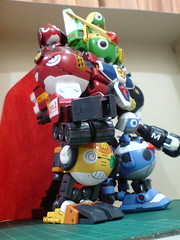
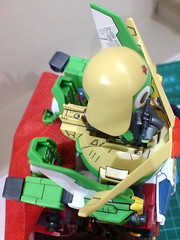
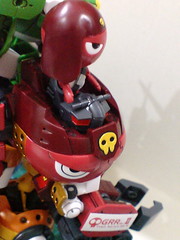
Rear view, with the red cape removed:

Closeups on the details:
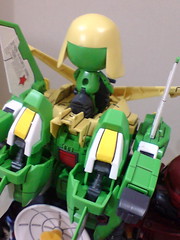
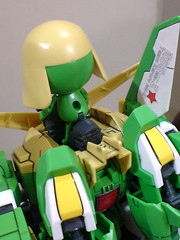

[Keroro & God Keron's head]


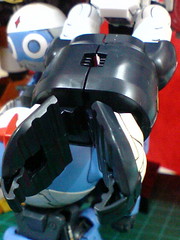
[Back]
[Tamama & God Keron's right arm]

[Giroro & God Keron's right arm]


[Kururu & God Keron's right leg]
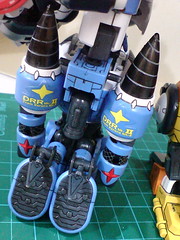


[Dororo & God Keron's left leg]
Once it's done, it really is quite an awesome model to behold. ^^ It's tall, large, heavy, very colorful, very cool. ^^ It's also quite flimsy in a few spots, which I'll get into in a while, but overall, I really love this final mode of the bundled kit. ^^ For the most part, my positive sentiment about the model is most likely due to the excitement of seeing how a whole set of model kits that I detailed and assembled come together nicely in the end to form this giant alternate form. Looking back now, there were very few combiner model kits reviewed on my blog, with the closest ones I can remember being High Grade 1/144 00 Gundam & O Raiser, Master Grade Force Impulse Gundam, BB Senshi Sangokuden Gotaitei Sonken Gundam Korinpaku, Tenshouryu Koumei Nu Gundam, and Asurao Moukaku Gundam, Syukuyuu Gundam, Kyoshin Elephant Set. However, in terms of size, and complexity, God Keron is really in its own league I believe. It's a bundled set of five individual model kits, each with great details, articulation, fun gimmicks, and multiple forms on their own, but they can all come together to form a single giant robot. How awesome is that? ^^ When action figures with multi-form transformation and combination abilities are super exciting to me, with examples like Gunsou Gattai Kerobot V, Mugenbine DX Mugen Pharaoh, the model kit nature of God Keron makes it even more special to me.
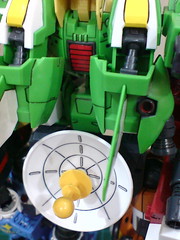
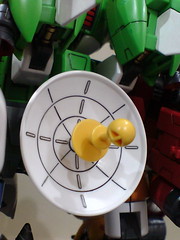
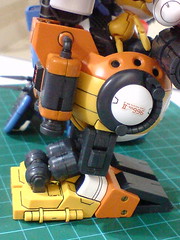
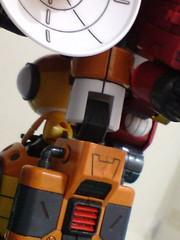
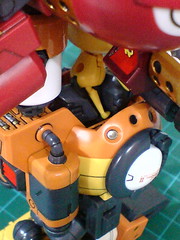
My second personal point of loving God Keron so much is seeing all the paint and panel line details all converging on a single huge model kit. ^^ In total, there were 21 separate postings on the painting and detailing of the five kits before the assembly stage began, and as shown in those postings, tons of paints of various different colors were used to realize the designated color scheme of the different kits, plus some of my own extra details of course. XD It was great seeing those details showing up in the individual kits' reviews, but seeing all of them on a single model in the end is tremendously fulfilling to me. ^^ From details that can be seen in front of the model, including the wing vents on Keroro Robo Mk-II, its wings which can be considered God Keron's rabbit ears now (XD), the chest plate, the silver shoulder panel on Giroro Robo Mk-II, the white areas on the feet (Kururu Robo Mk-II and Dororo Mk-II), to those on the rear, like the yellow stripes on Keroro Robo Mk-II's feet, dorsal fins, the line details on the radar disc, Dororo Robo Mk-II's drill bits, Kururu Robo Mk-II's orange sections on its backpack, and tons of other details all over the entire model, I'm really happy to be seeing them again. ^^ On top of that, the number of parts, articulation design, and detailing needed by the individual kits make them comparable to the High Grade Gunpla series, so seeing all of them coming together, displaying so much details on a single kit makes it feels like a one-off showcase of different detailing effort I did on separate occasion. ^^ I really can't think of any other model kit that could provide me with that sense of unique satisfaction at the moment. ^^
On the flip side, there are a few weaknesses to this kit. ^^; One of the obvious ones, as discussed at the beginning of the combination process, is the frustration involved for certain steps. In this aspect, the issue with the protruding hip blocks of Keroro Robo Mk-II is really a minor one. ^^; The collision between different components when I was trying to put them together was quite upsetting. ^^; As instruction manuals tend to make transformation sequences look like child's play, you really doubt yourself when you can't get some of the steps right. ^^ That was my first experience with transforming Transformers figures. With more attempts, plus the willingness to be a bit more rough and forceful in certain steps, the transformation process eventually becomes smoother, and stress-free. However, God Keron is not an action figure. There are painted and panel lined details that might get rubbed off when they collide, not to mention I must be rubbing on some of them when I was holding the different parts during the transformation sequence. Their model kit nature also means that they are more fragile than action figures, and breaking them at the final stage of the entire review is really the last thing I want to see. ^^; Going back and forth between the model kits and illustrations in the manual, examining some of the parts myself when things don't go well, moving parts away from one another when I detected that they were about to hit one another, all done very slowly to not break anything, very frustrating. ^^;
The frustration in transformation mentioned above can be linked very closely to another weakness that I find about this kit, its flimsiness. ^^; After the transformation, I get the sense that security of the different components in combined form was omitted from the drawing board, for the most part. ^^; There's no tab/peg/connector to secure the dangling arms and legs of Keroro Robo Mk-II behind the head, Tamama Robo Mk-II's lollipop disc saw behind the left arm, or its candy thrusters above the chest. Many of the combined parts are kept in place by the strength of their polycaps, which is pretty amazing to me. ^^ Then again, they do get knocked out of place very easily when the parts around them are shifted, which most certainly add to the frustration mentioned above. For that, there are definitely more adjustment that are needed to various parts during and after the entire transformation, which aren't shown in the manual, to get everything right. ^^; This is my first combination attempt for God Keron, and everything seems to be fine. The durability is unlikely to last after another few transformations. ^^;
Apart from component security, articulation has also been omitted for God Keron, which is really not a surprise to me. The realistic issues of weight, design of movable components in different modes for the five kits, the overall transformation sequence, and other production related considerations like pricing, material, and complexity of assembly for the target buyers made it really difficult to get every aspect of God Keron right. I think the ability to combine is the most important feature of God Keron, and that's pretty much it. From the review, the model kit successfully fulfill that objective, so there's nothing I would like to complain about its articulation. Furthermore, given the flimsy nature of the combination as mentioned earlier on, I think I do appreciate the fact that God Keron isn't supposed to be able to move. ^^;
Overall, I appreciate the nobility of God Keron's multi-form transformation and combination. Despite its flaws, the transformation process is fun, and God Keron itself looks really cool as a giant combiner robot. Under realistic expectations of a model kit that is meant to appeal to young kids, I think God Keron is a wonderful build. ^^
Despite that conclusive remark, there'll be one more posting coming up to close out this ginormous review series. ^^


No comments:
Post a Comment