Continuing with the assembly of MG Sinanju Ver. Ka, with the progress still on its weapons after the previous posting. ^^
Starting with the simplest on the armament list: the beam sabers. ^^
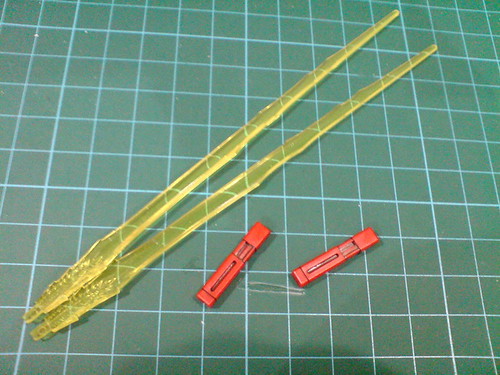
Four one-piece parts for the pair of beam sabers.

Beam effect molded on the beam parts.


Done for the beam sabers.
Strictly speaking, there's no assembly required for the beam sabers. ^^
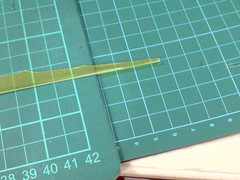
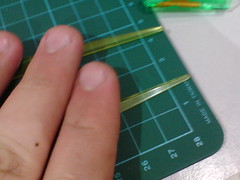
Overall length of the beam sabers: 16cm each.

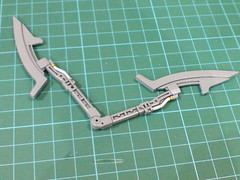
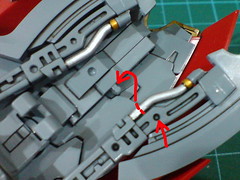
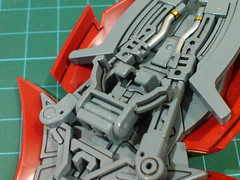
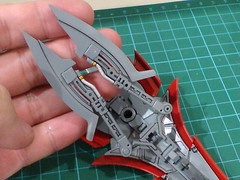
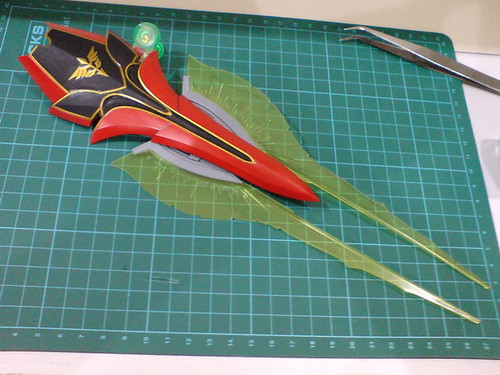
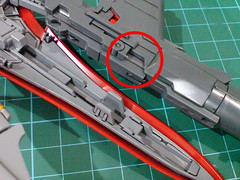
Parts for the beam axes/swords.
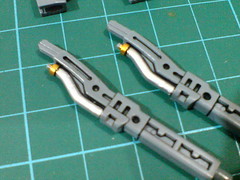
The pipes behind the ax handles were painted in Part 9.
The pair of peg and slot are the only difference between the two sets of parts.
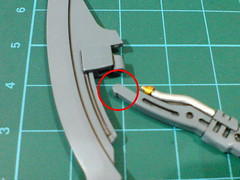
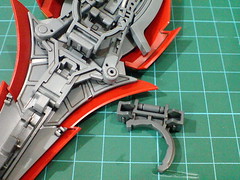
A tiny protruding point at the edge of the handle secures it into the ax's cheek part.
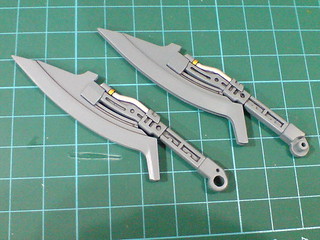
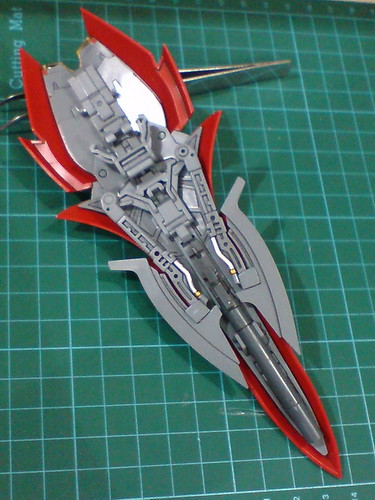
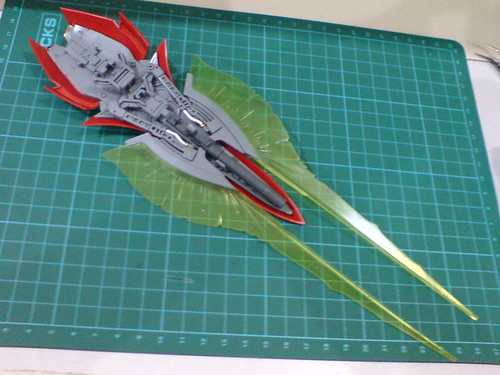
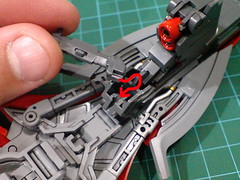
The beam axes/swords are completed.

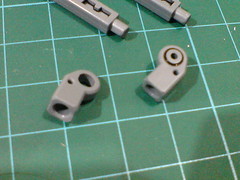
The ax cheeks can be slid upward to deploy the weapons.
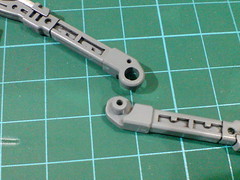

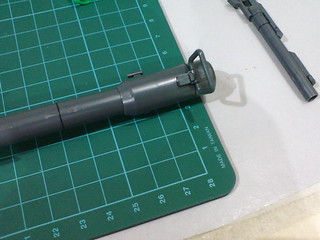
The pair of peg and slot mentioned earlier on allow the two beam axes/swords to be connected to one another at their knobs.
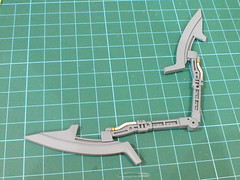
Technically, using the peg as a hinge, the combined weapon's handle can be angled to about 90 degrees, but who would go and do that, and ruin the image of a really awesome weapon. ^^;
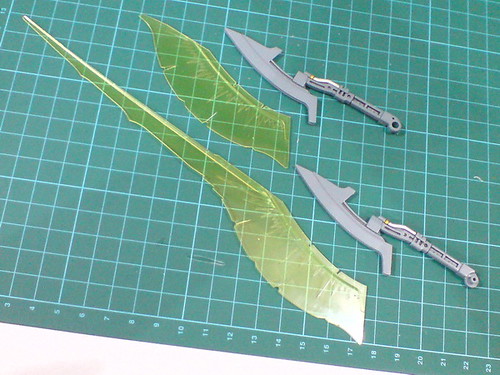
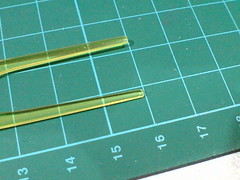
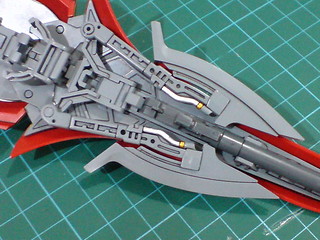
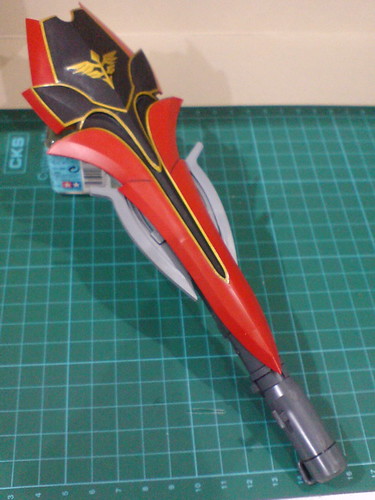
With a set of the beam parts.
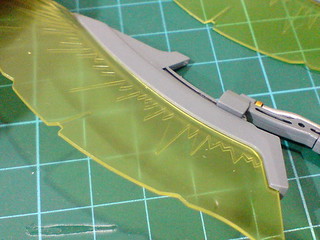
Simple molded line details for the beam effect, which look exactly like that on its HGUC equivalence. ^^
With the beam parts attached to the weapons.
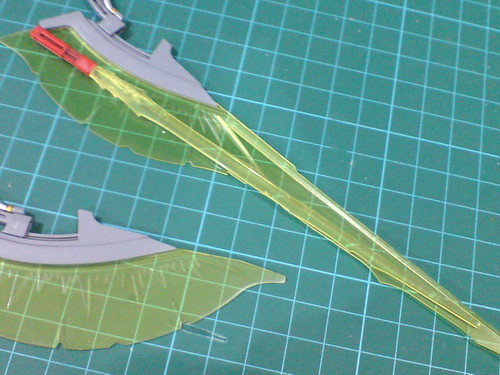
The beam sword part completely outsizes the beam saber. ^^
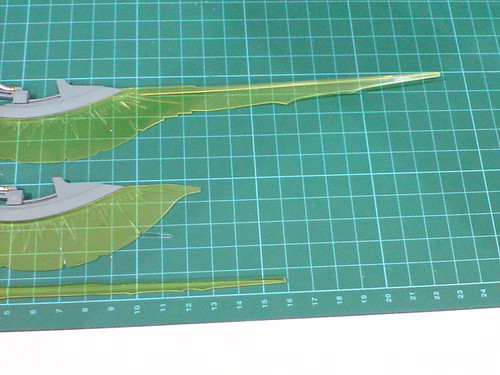
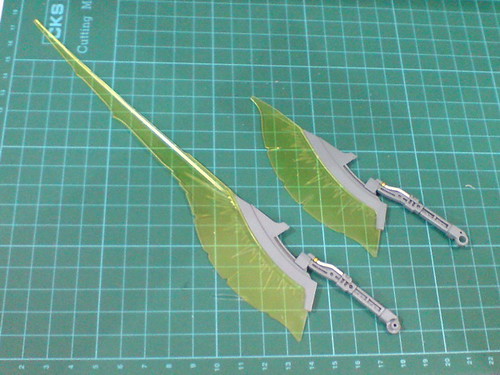
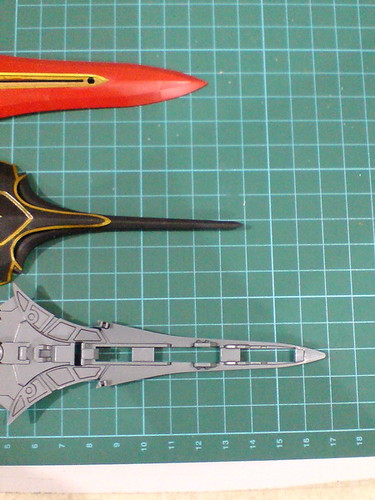
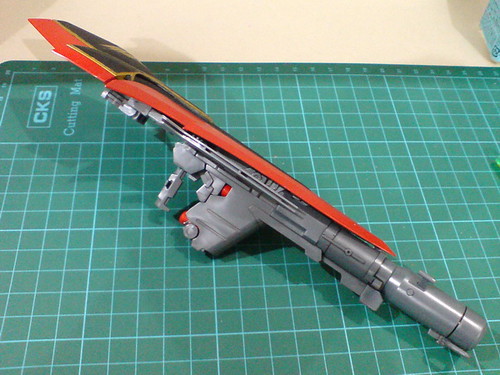
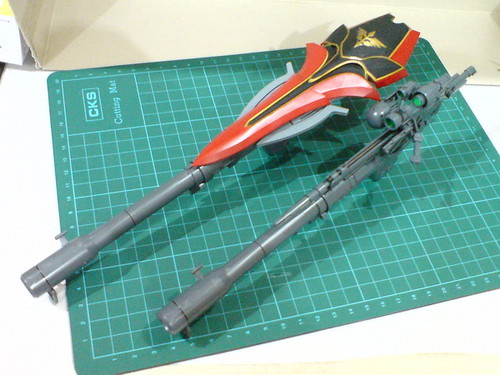
Comparison between the beam weapons' lengths. At 24cm, the beam sword is way longer, and bigger than the beam saber. While the beam ax is the shortest of the three, its beam spread at the base is still as wide as the beam sword's.
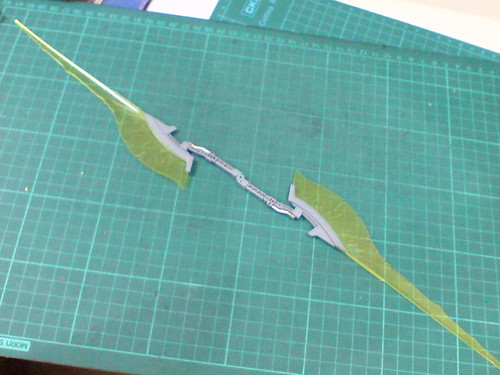
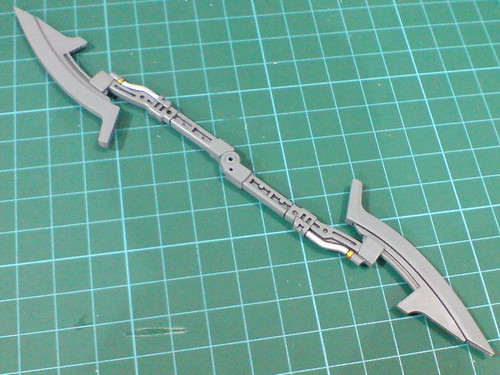
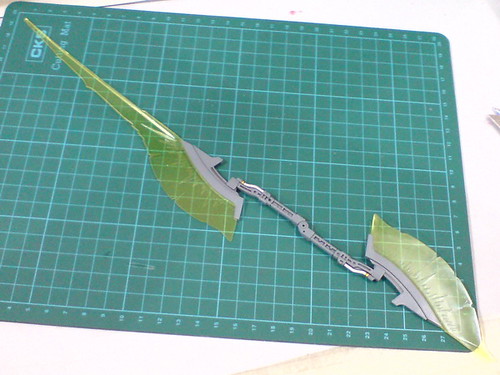
When combined, a naginata formed by two beam sword parts is an
Overall length of the naginata: 46.5cm! ^^
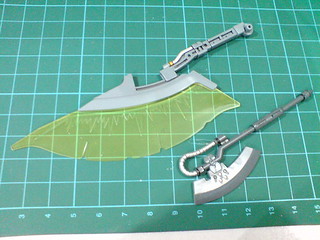
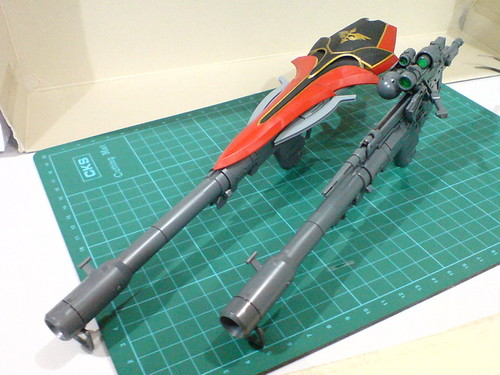
With one beam ax and one sword part, a shorter, weirder looking naginata can be formed as well. ^^
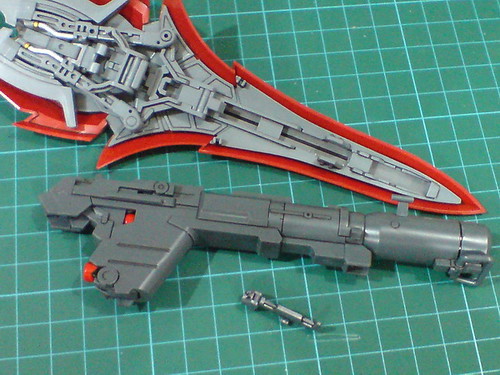
Comparison with MG Char's Customized Zaku II Ver. 2.0's Heat Hawk to put the beam ax part's large size into perspective. ^^
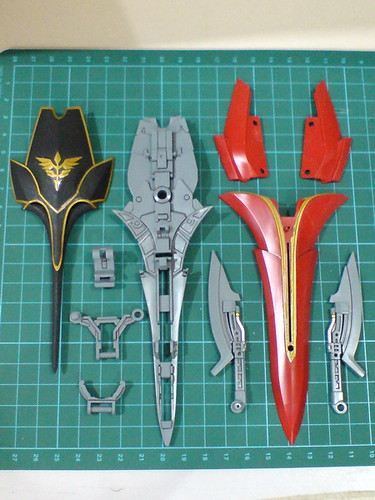
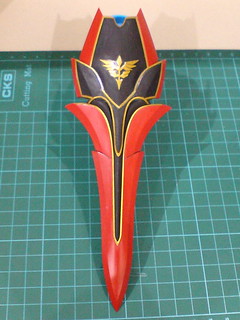
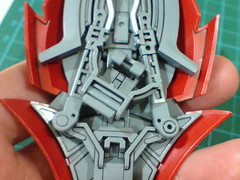
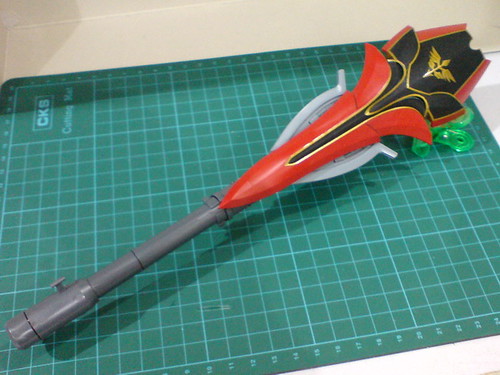
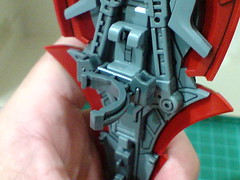
Parts for the shield, my favorite of all the weapons. ^^
The just completed beam swords/axes are to be mounted behind the shield, so they are featured in this part of the assembly as well.
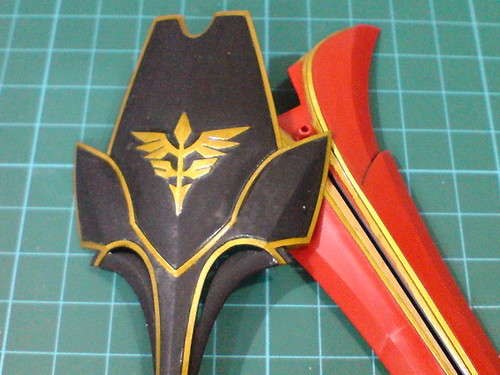
The golden emblems and stripes (Parts 2, 3, 4, 5, and 6, then refined in Part 19) were perhaps the most significant part in the entire painting and detailing process. ^^
All the main shield parts are pretty large and long: the red main base is 13cm in length, the honor point 14cm, and the rear frame 17cm.
The shield's exposed area beneath the long polygonal slots on the frame part, painted in Part 19, blends in with the frame's color very well. ^^
Snap-fitting large parts onto the frame to complete the entire shield is very fun. ^^
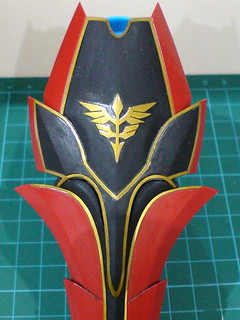
The iconic Neo Zeon emblem can now be seen as part of the completed shield. ^^
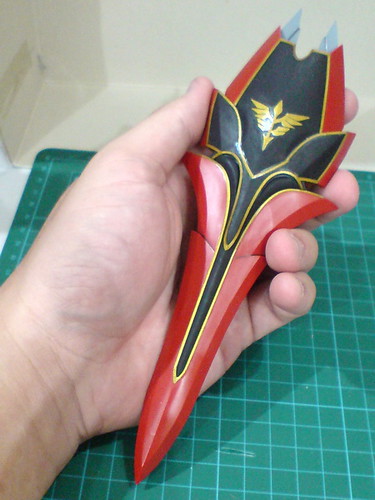
As seen here when compared to my hand, the shield is a huge component. ^^
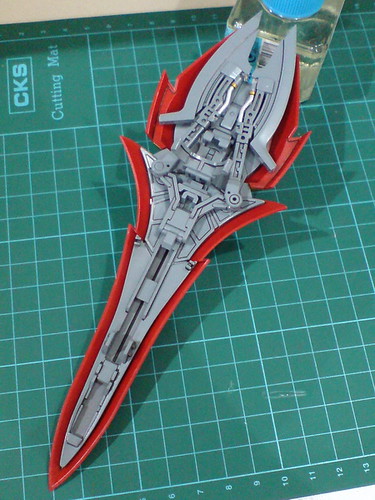
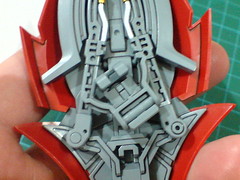
Rear view of the shield.
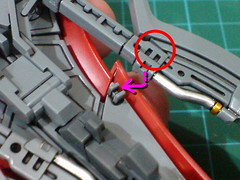
A peg on the upper part of the frame secures each beam ax handle to the shield.
The mount rack can be hinged upward to have it folded flat against the frame.
Since it's connected to the shield via a peg, the entire mount rack can be rotated from side to side for a limited degree.

Overall length of the shield: 20cm.
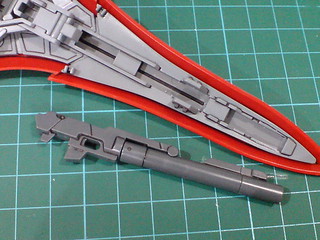
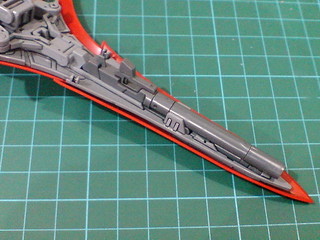
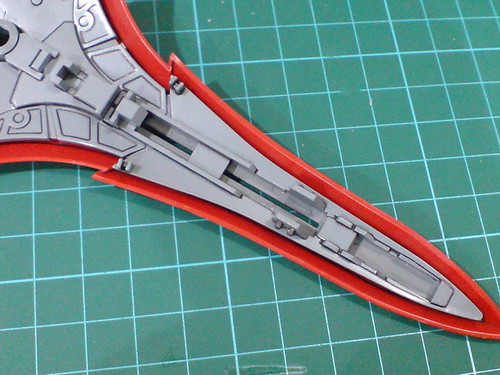
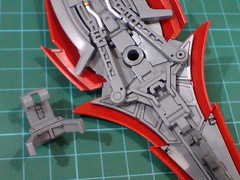
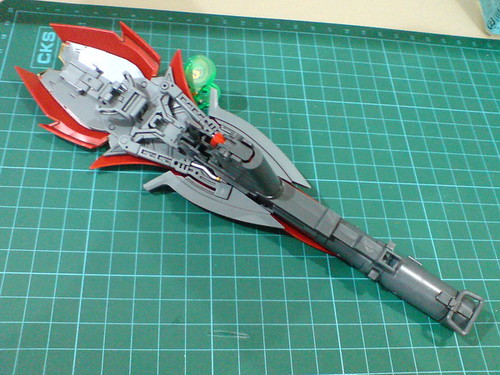
The long polygonal slots on the frame part fits the grenade launcher perfectly. ^^
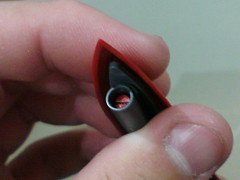
The added grenade inside the barrel can be see very clearly at the bottom tip of the shield. ^^
To deploy the double beam axes/swords from behind the shield, (left) the shield's mount rack must be detached first.
(Right) After the handles are detached from their securing pegs, they are hinged upward via their storage rack.

(Left) Using the peg joint at the bottom of each handle, the weapon is rotated around until the cheeks are facing each other. Then, by using the peg that connects it to the storage rack, each beam ax is swung outward and to the lower part of the frame.
(Right) A pair of pegs near the edge of the shield's side secure each ax cheek to its new location.
The look of the beam axes/handles on the lower half of the frame.
The look is deceptively simple when compared to the steps involved in order to complete this configuration. ^^;

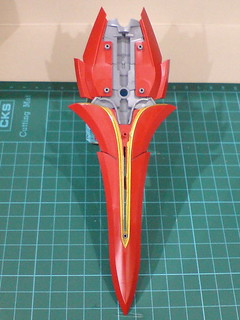
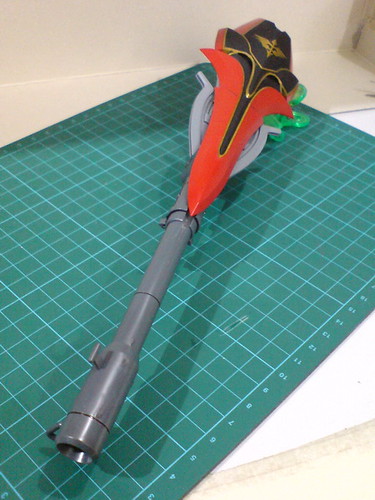
With the beam sword parts attached to the shield.
Overall length of the beam sword-equipped shield: about 29cm.
The rocket bazooka completed in the previous posting can be mounted to the slot originally designated for the grenade launcher. For that, the main handle has to be detached first as well.

Apart from the slits on both sides of the bazooka that allow the weapon to be clipped onto the frame, another pair of slits right next to the aforementioned set, which are designated for the tabs behind the ax, are also helpful to secure the heavy bazooka to the shield's frame.

The main handle is reattached to a slot beneath the bazooka's butt, behind the magazines.
The connected bazooka extends the shield's length, but not as much as the extra thickness added. ^^
Overall length of the rocket bazooka-equipped shield: about 23cm.
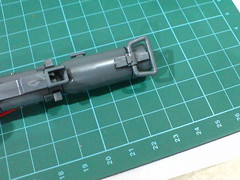
The bazooka's barrel can still be extended from behind the shield. ^^
Comparison with the combined beam rifle. ^^
Overall length of the rocket bazooka-equipped (and deployed) shield: about 30cm. ^^
An extra mount rack that replaces the default one behind the shield is included with the runners for the rocket bazooka, which is meant to mount the double beam gatling guns that came with "MS Gundam UC" novel Vol. 4.
It's an extra part that is useless to me, since I don't have that limited weapon set. ^^;
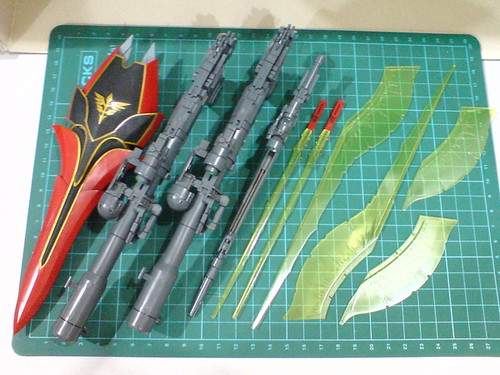
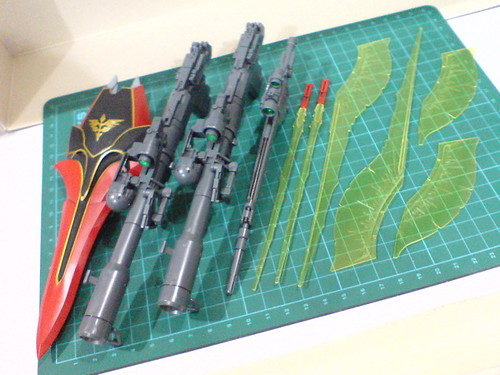

A gathering of all of MG Sinanju Ver. Ka's weapons. ^^
In terms of technicality of the assembly process, the weapons featured in this particular posting are not as complicated as those in the previous posting, but the shield and its glorious emblem and stripe details are more than enough to make the build a unique and enjoyable experience. ^^
Will move on to assembling the inner frame of this MG kit next. ^^


No comments:
Post a Comment